Baipix 0.8: pixel art animation
 Todo-bai · · 10 min read
Baipix 0.8 is out. Until now, a drawing in Baipix was one still picture. If you wanted it to move, you had to export each pose and put them together somewhere else.
Now you can animate right in the editor. You add frames, see the ones around the one you’re drawing, play them, and take them out as a GIF or as files for a game engine. Your old drawings don’t change, they’re just animations with one frame.
It’s the biggest change since Baipix started, and it’s still fresh. Only a few of us have really used it so far, so there will be rough edges. If something feels off, tell me.
Here’s what’s in this release.
| What | In short |
|---|---|
| Timeline | A row per layer, a column per frame, each frame with its own duration |
| Frames | Pick several, copy and paste, reverse, start an empty one |
| Onion skin | The frames before in red, after in blue, under the one you draw |
| GIF | Every frame with its duration, looping, exact colors |
| For game engines | A PNG sequence, or a sprite sheet with its JSON |
| Aseprite | Every frame and its duration, in an .aseprite file |
| Light | A light for each board, and a shadow that follows it |
| Colors | Adjustments and Remap change every frame, the background too |
| Languages | Italian and Japanese |
A timeline under the canvas
Animation fits into the editor you already know instead of being a separate mode: the layers stay the same, they just get a row each. The Animate button, the little film beside Export, opens a timeline under the canvas. There’s a row per layer and a column per frame.
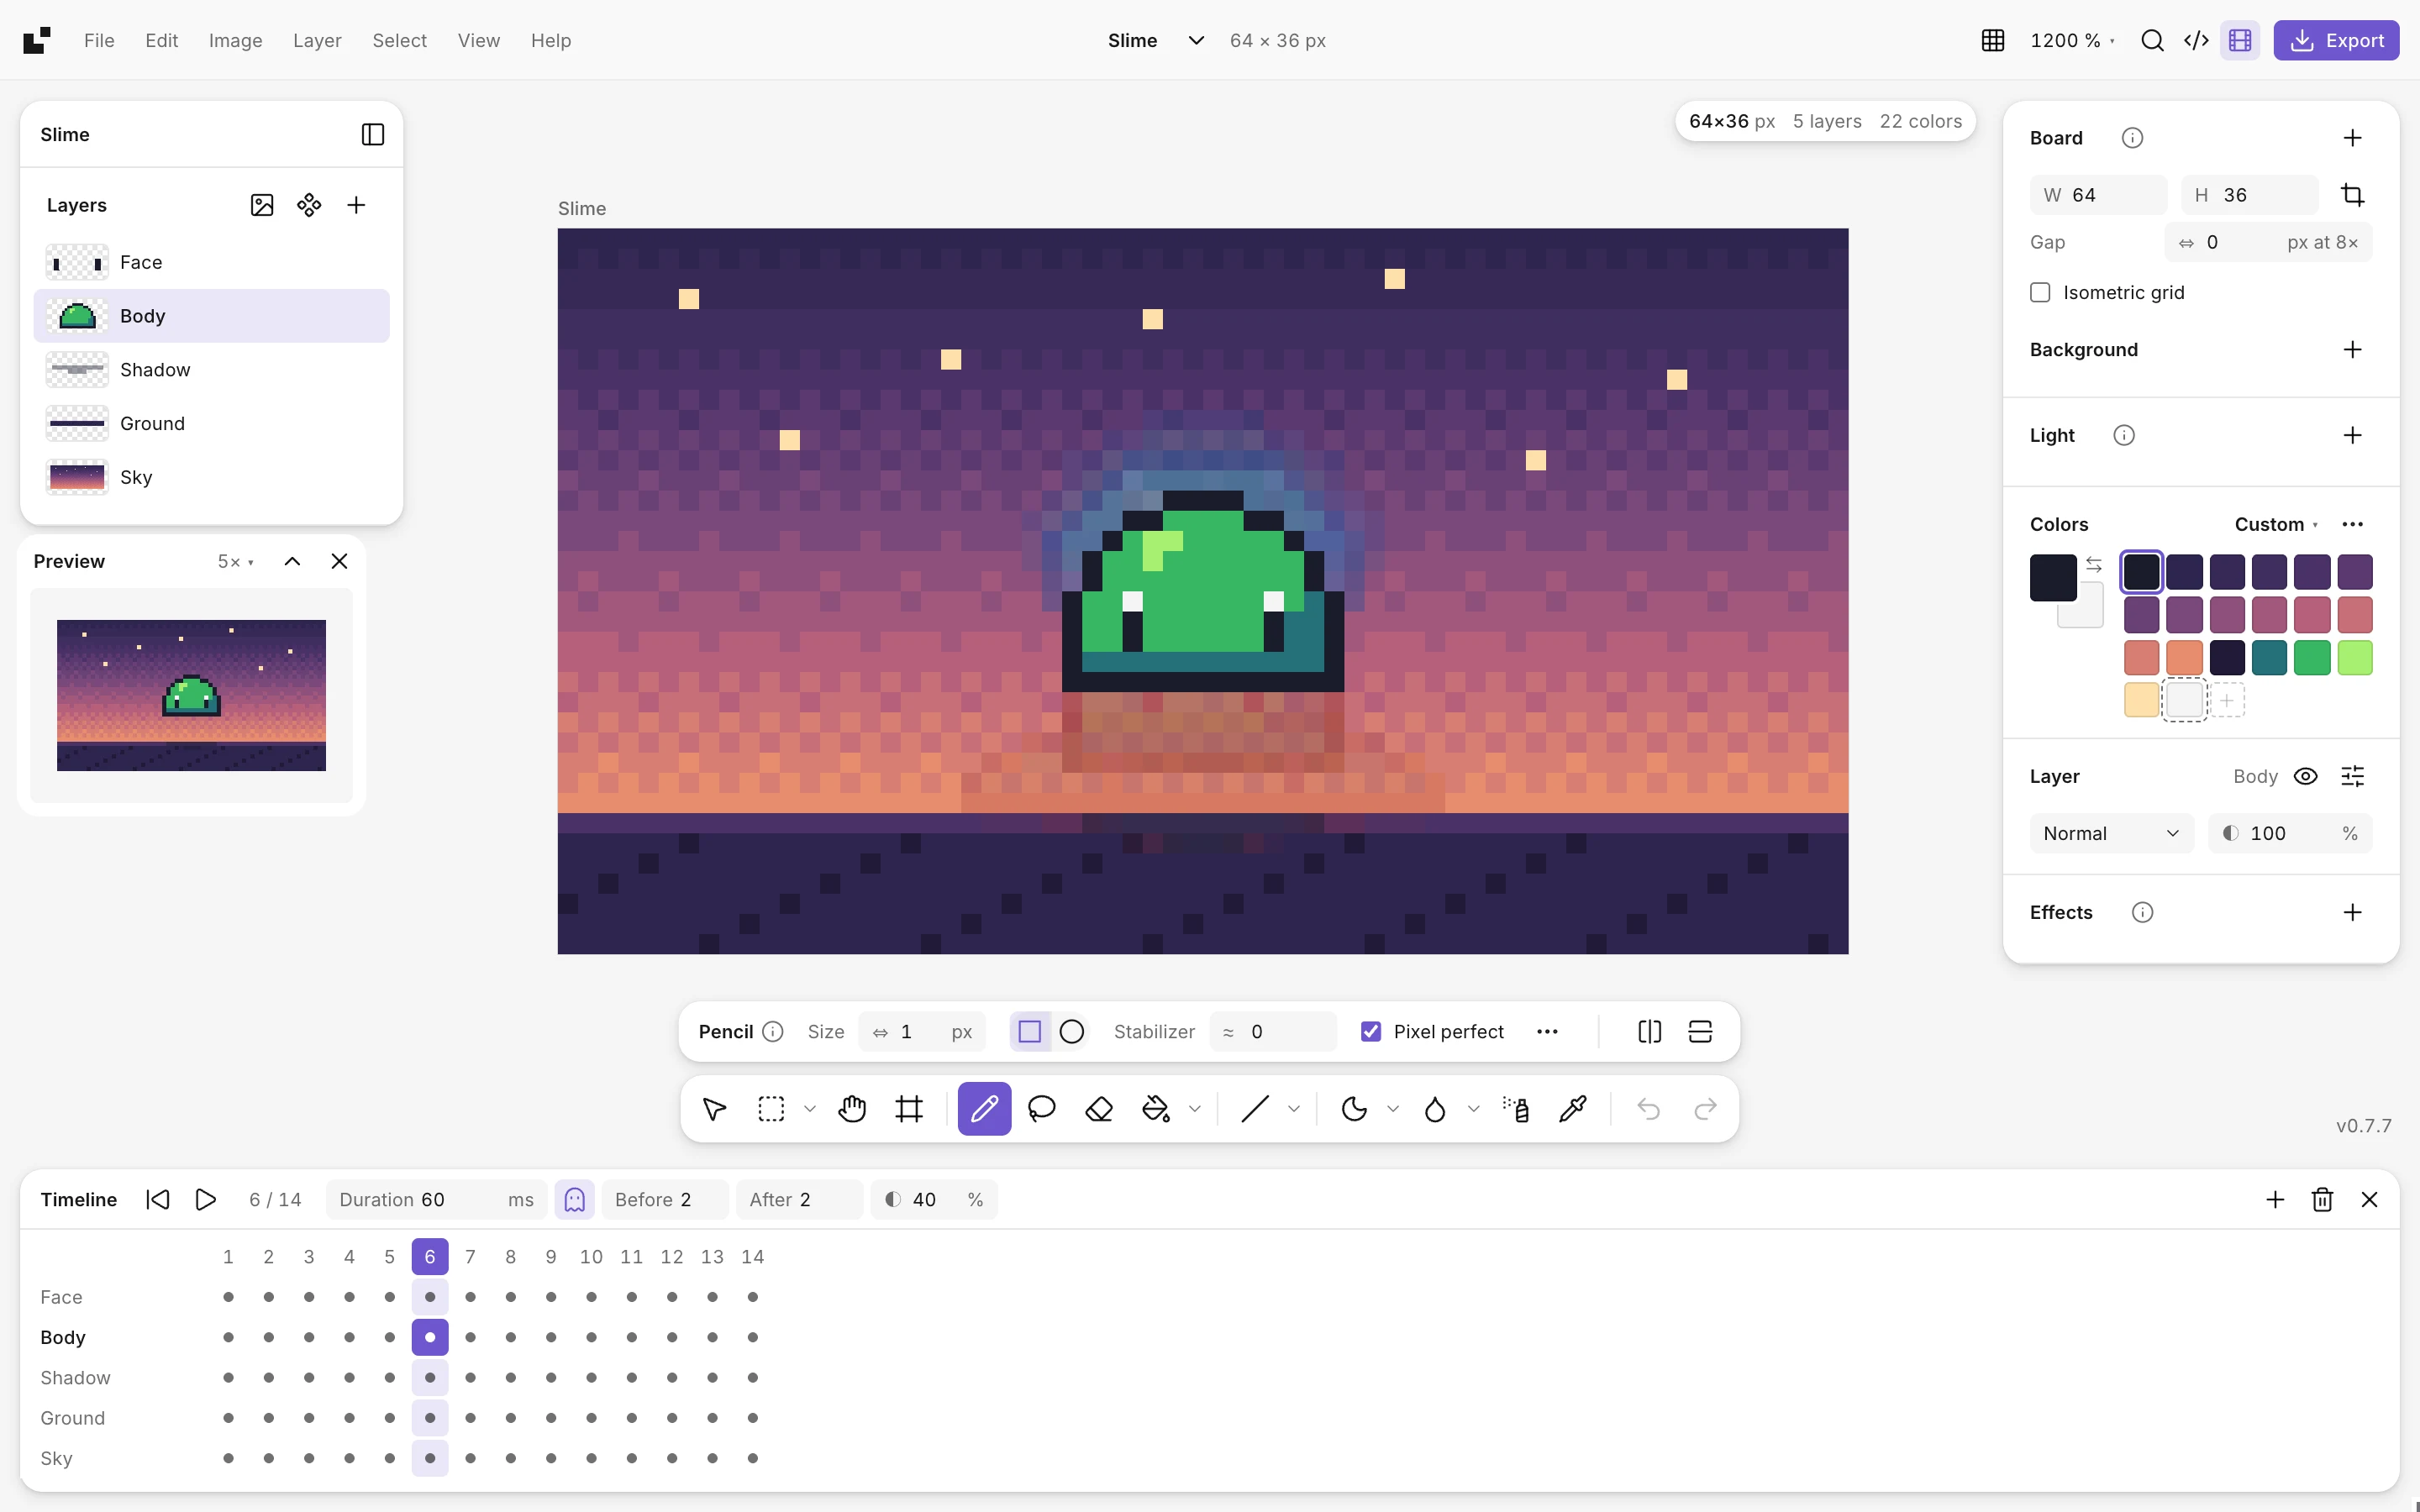
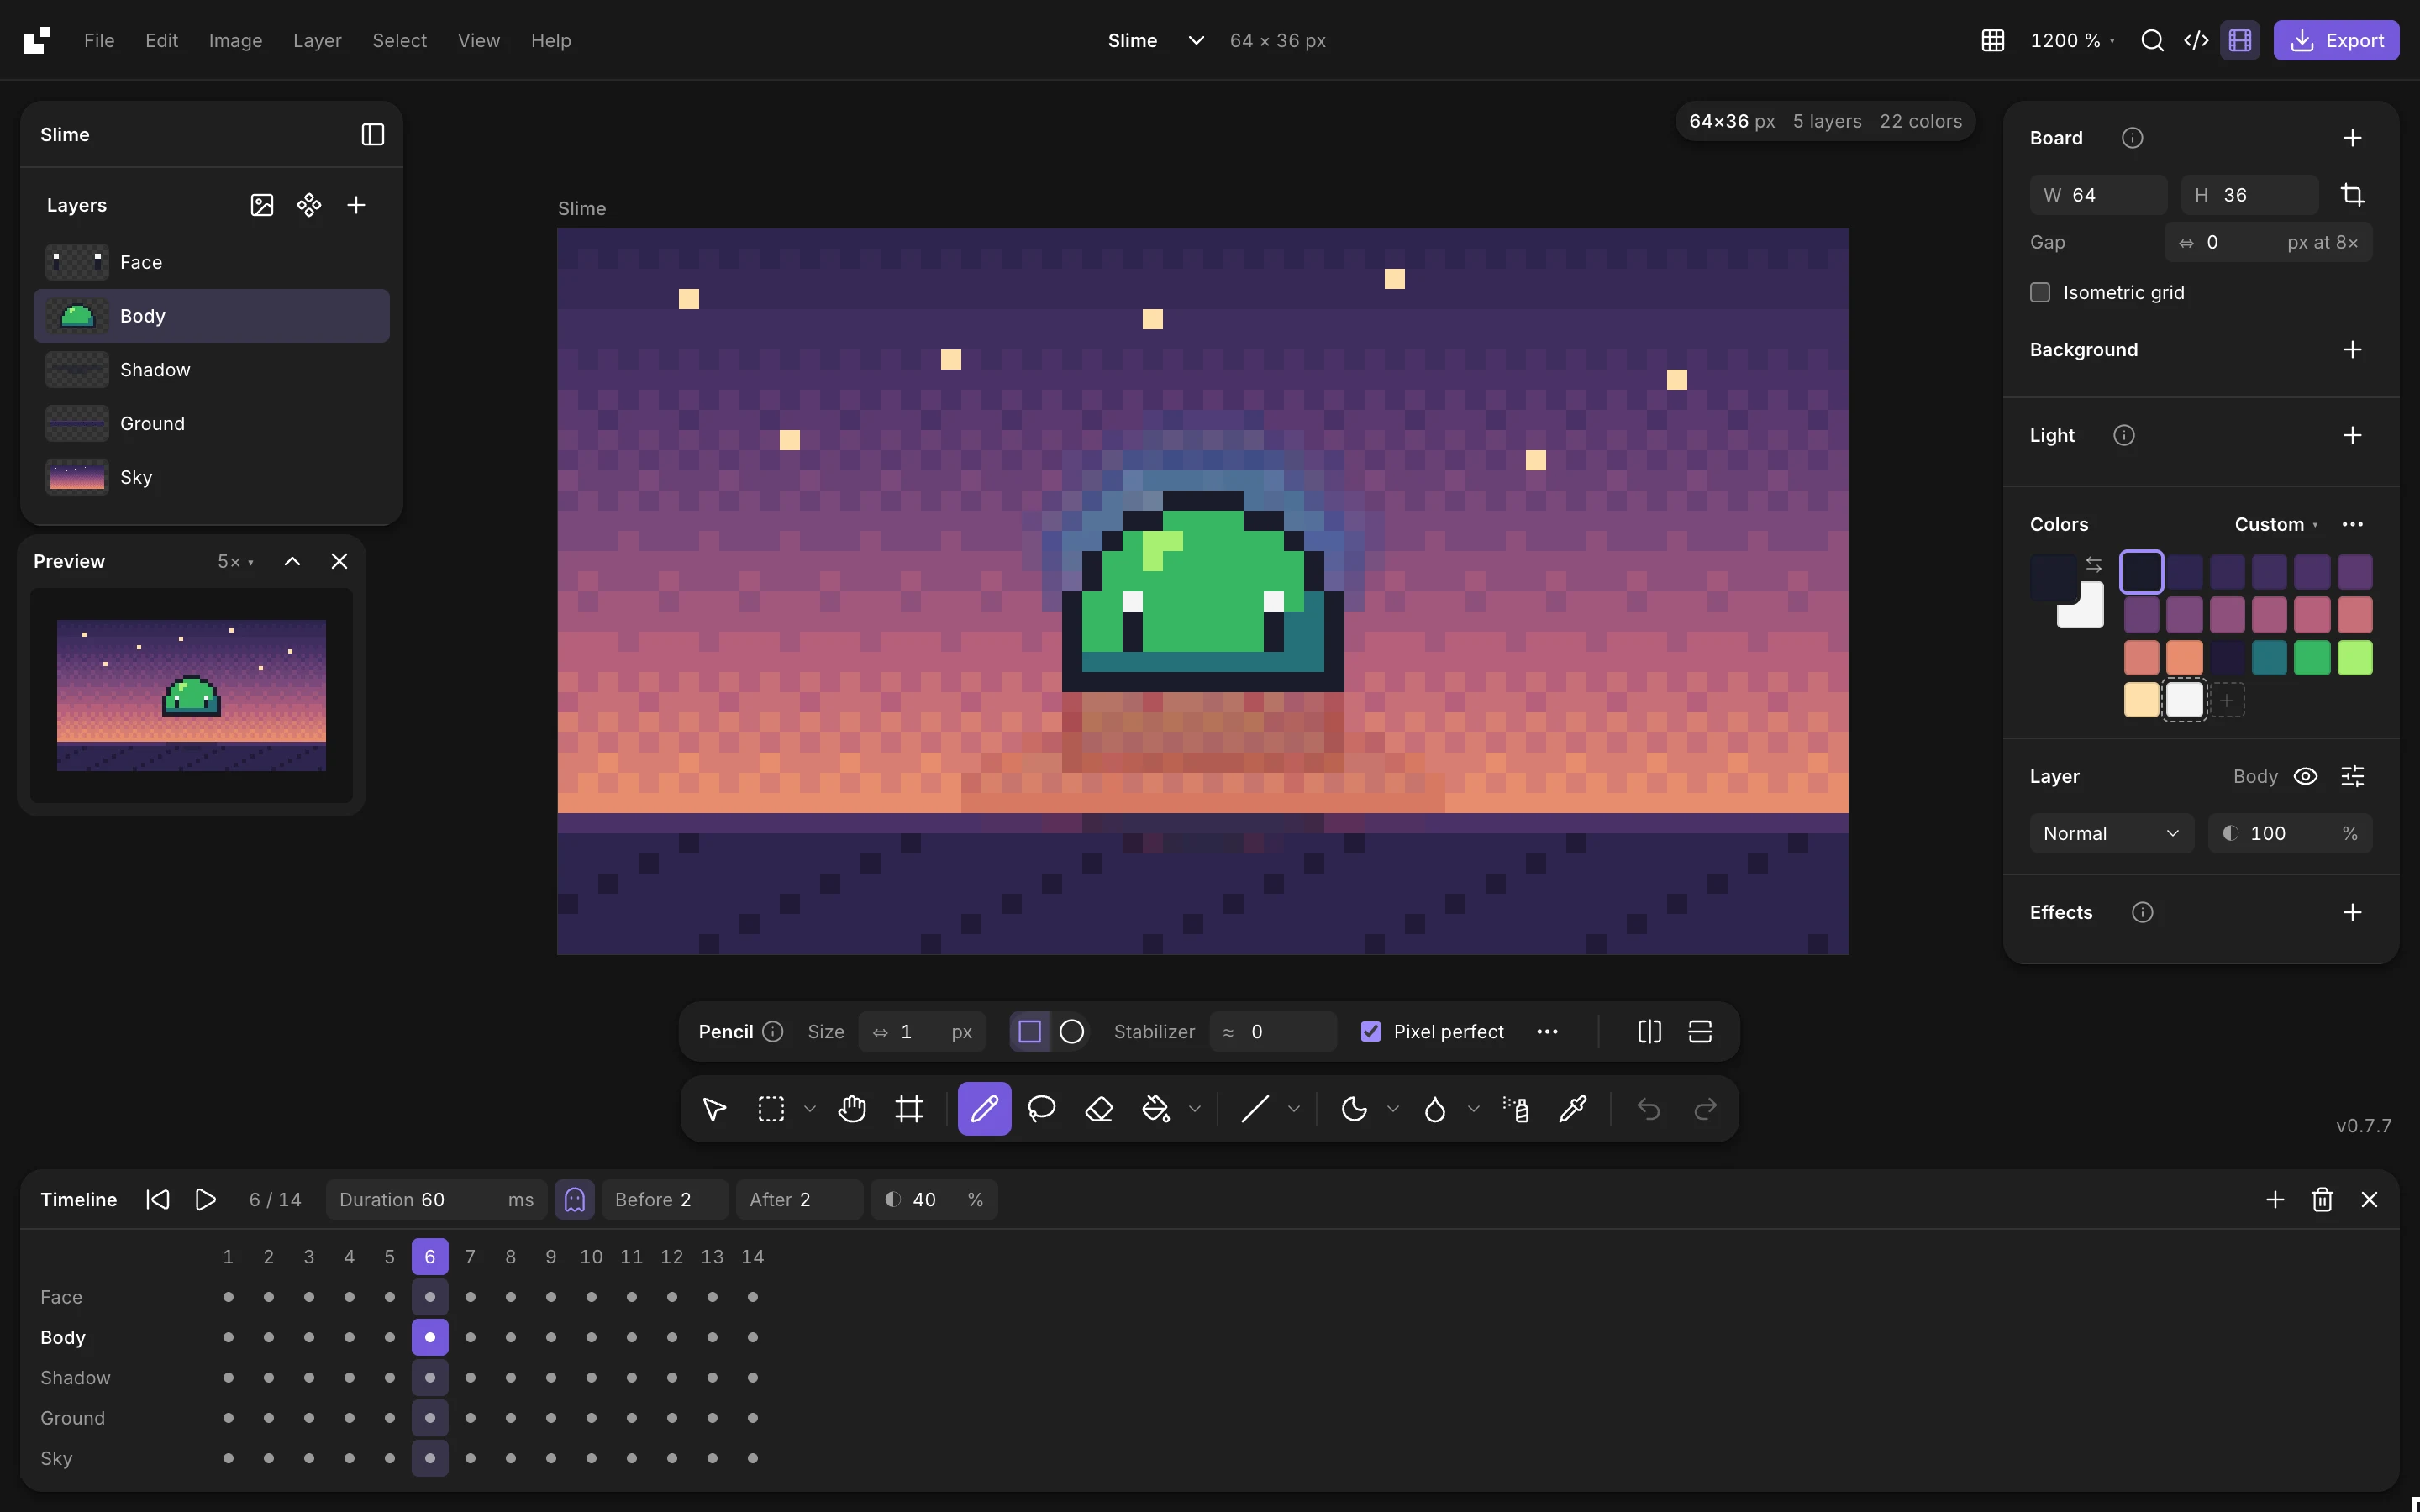
A new frame starts as a copy of the one you’re on, so you only redraw what moves. You can drag frames around to change their order.
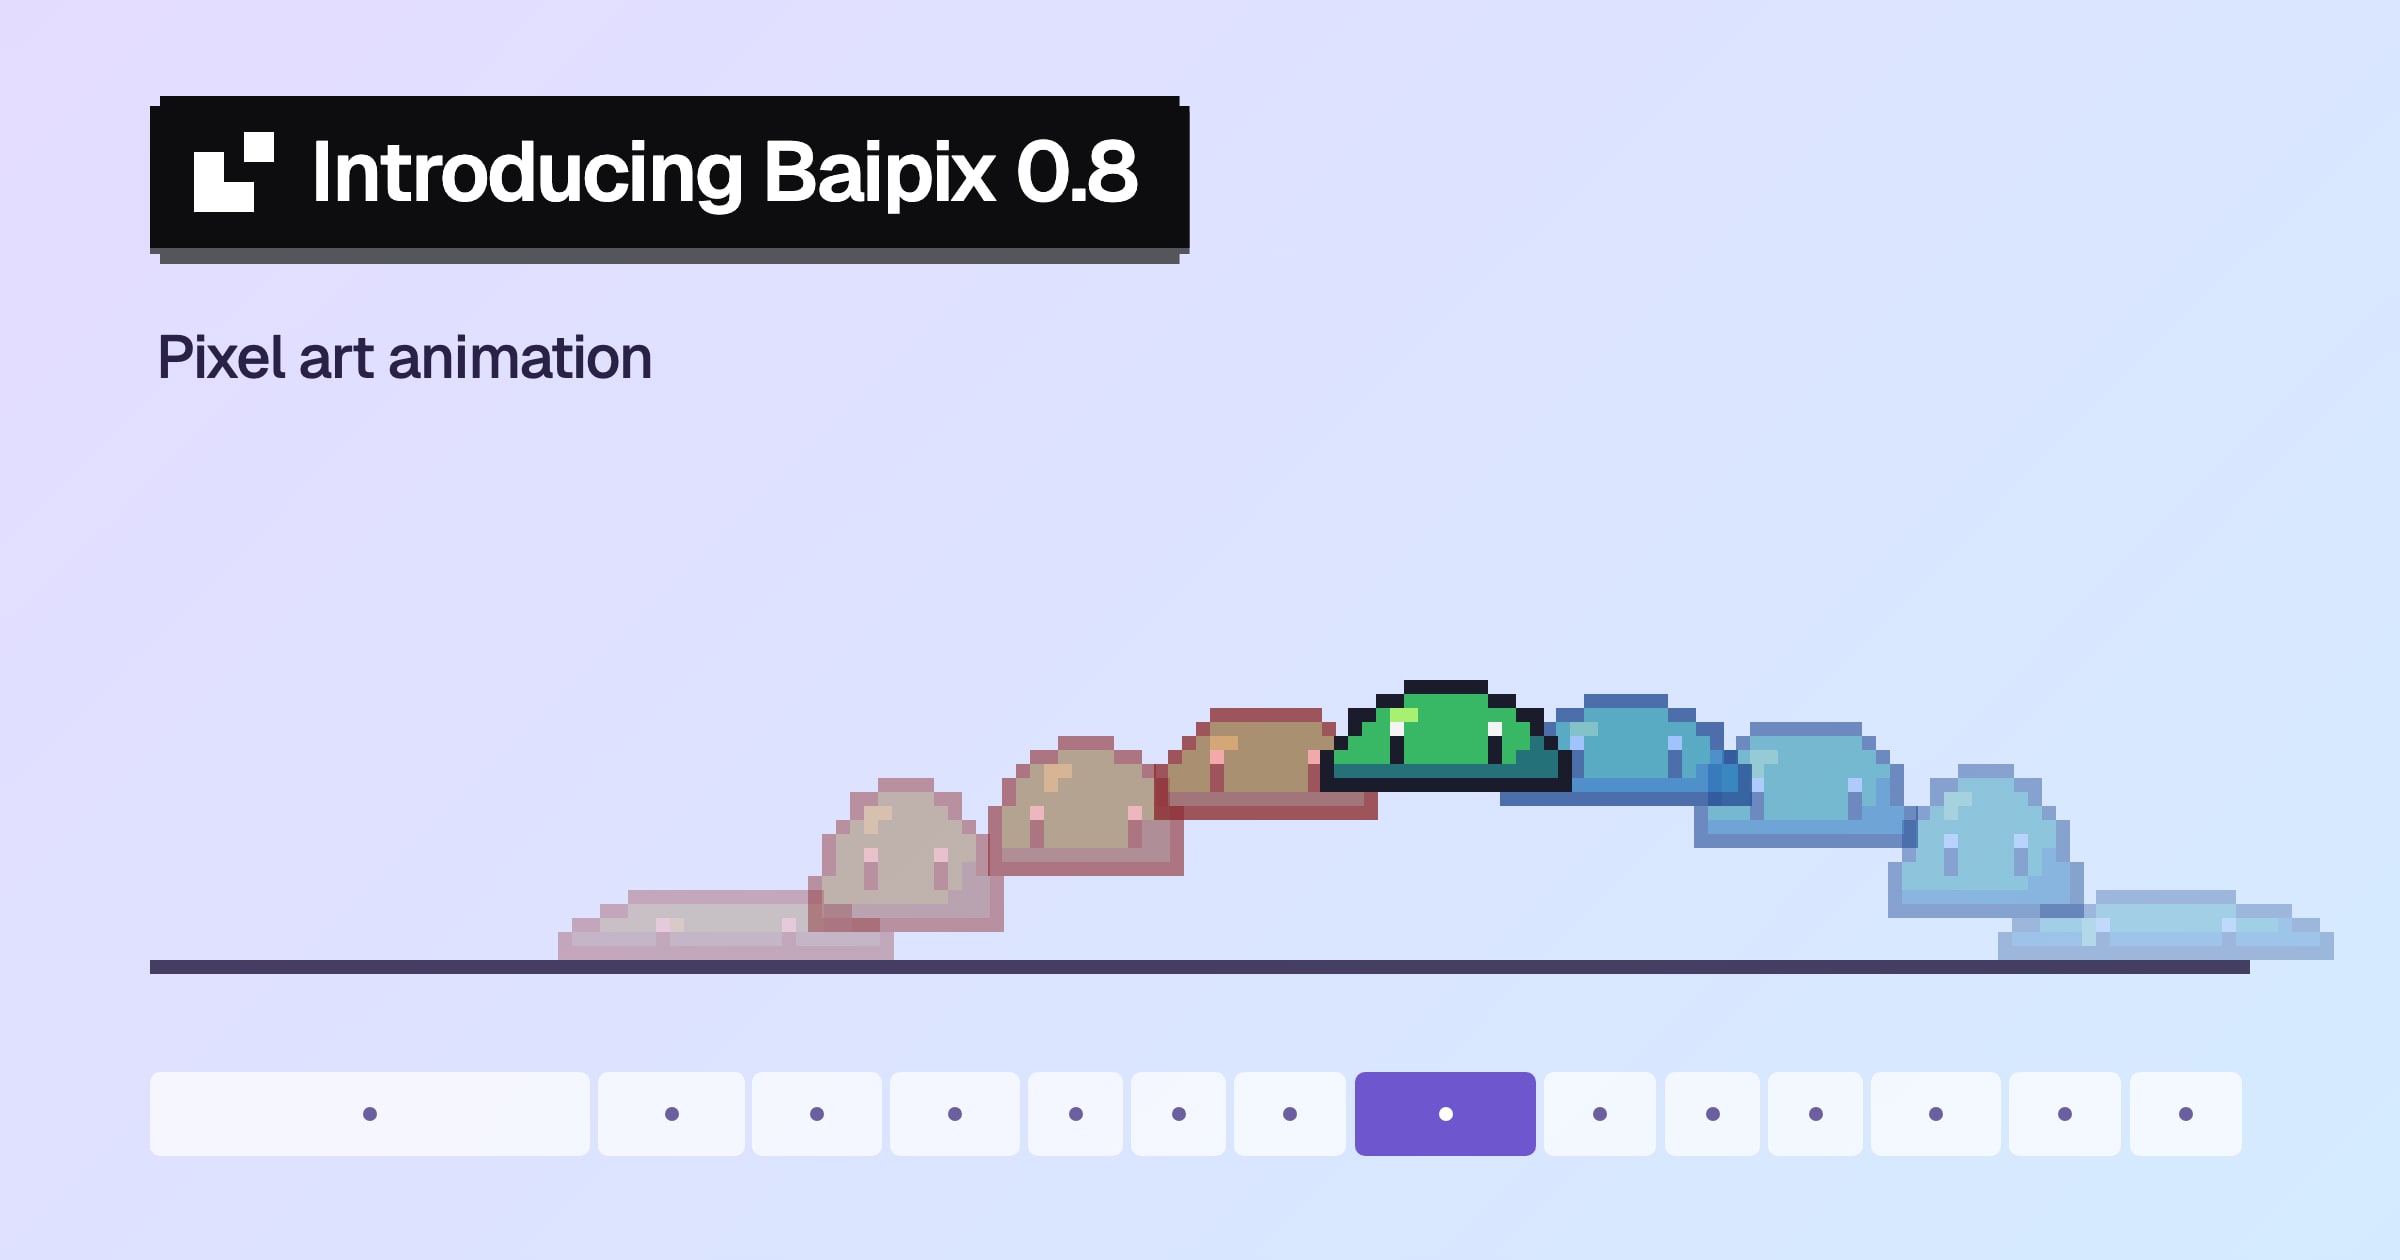
Each frame has its own duration. The slime holds still for a moment before it jumps, then the jump goes by fast.
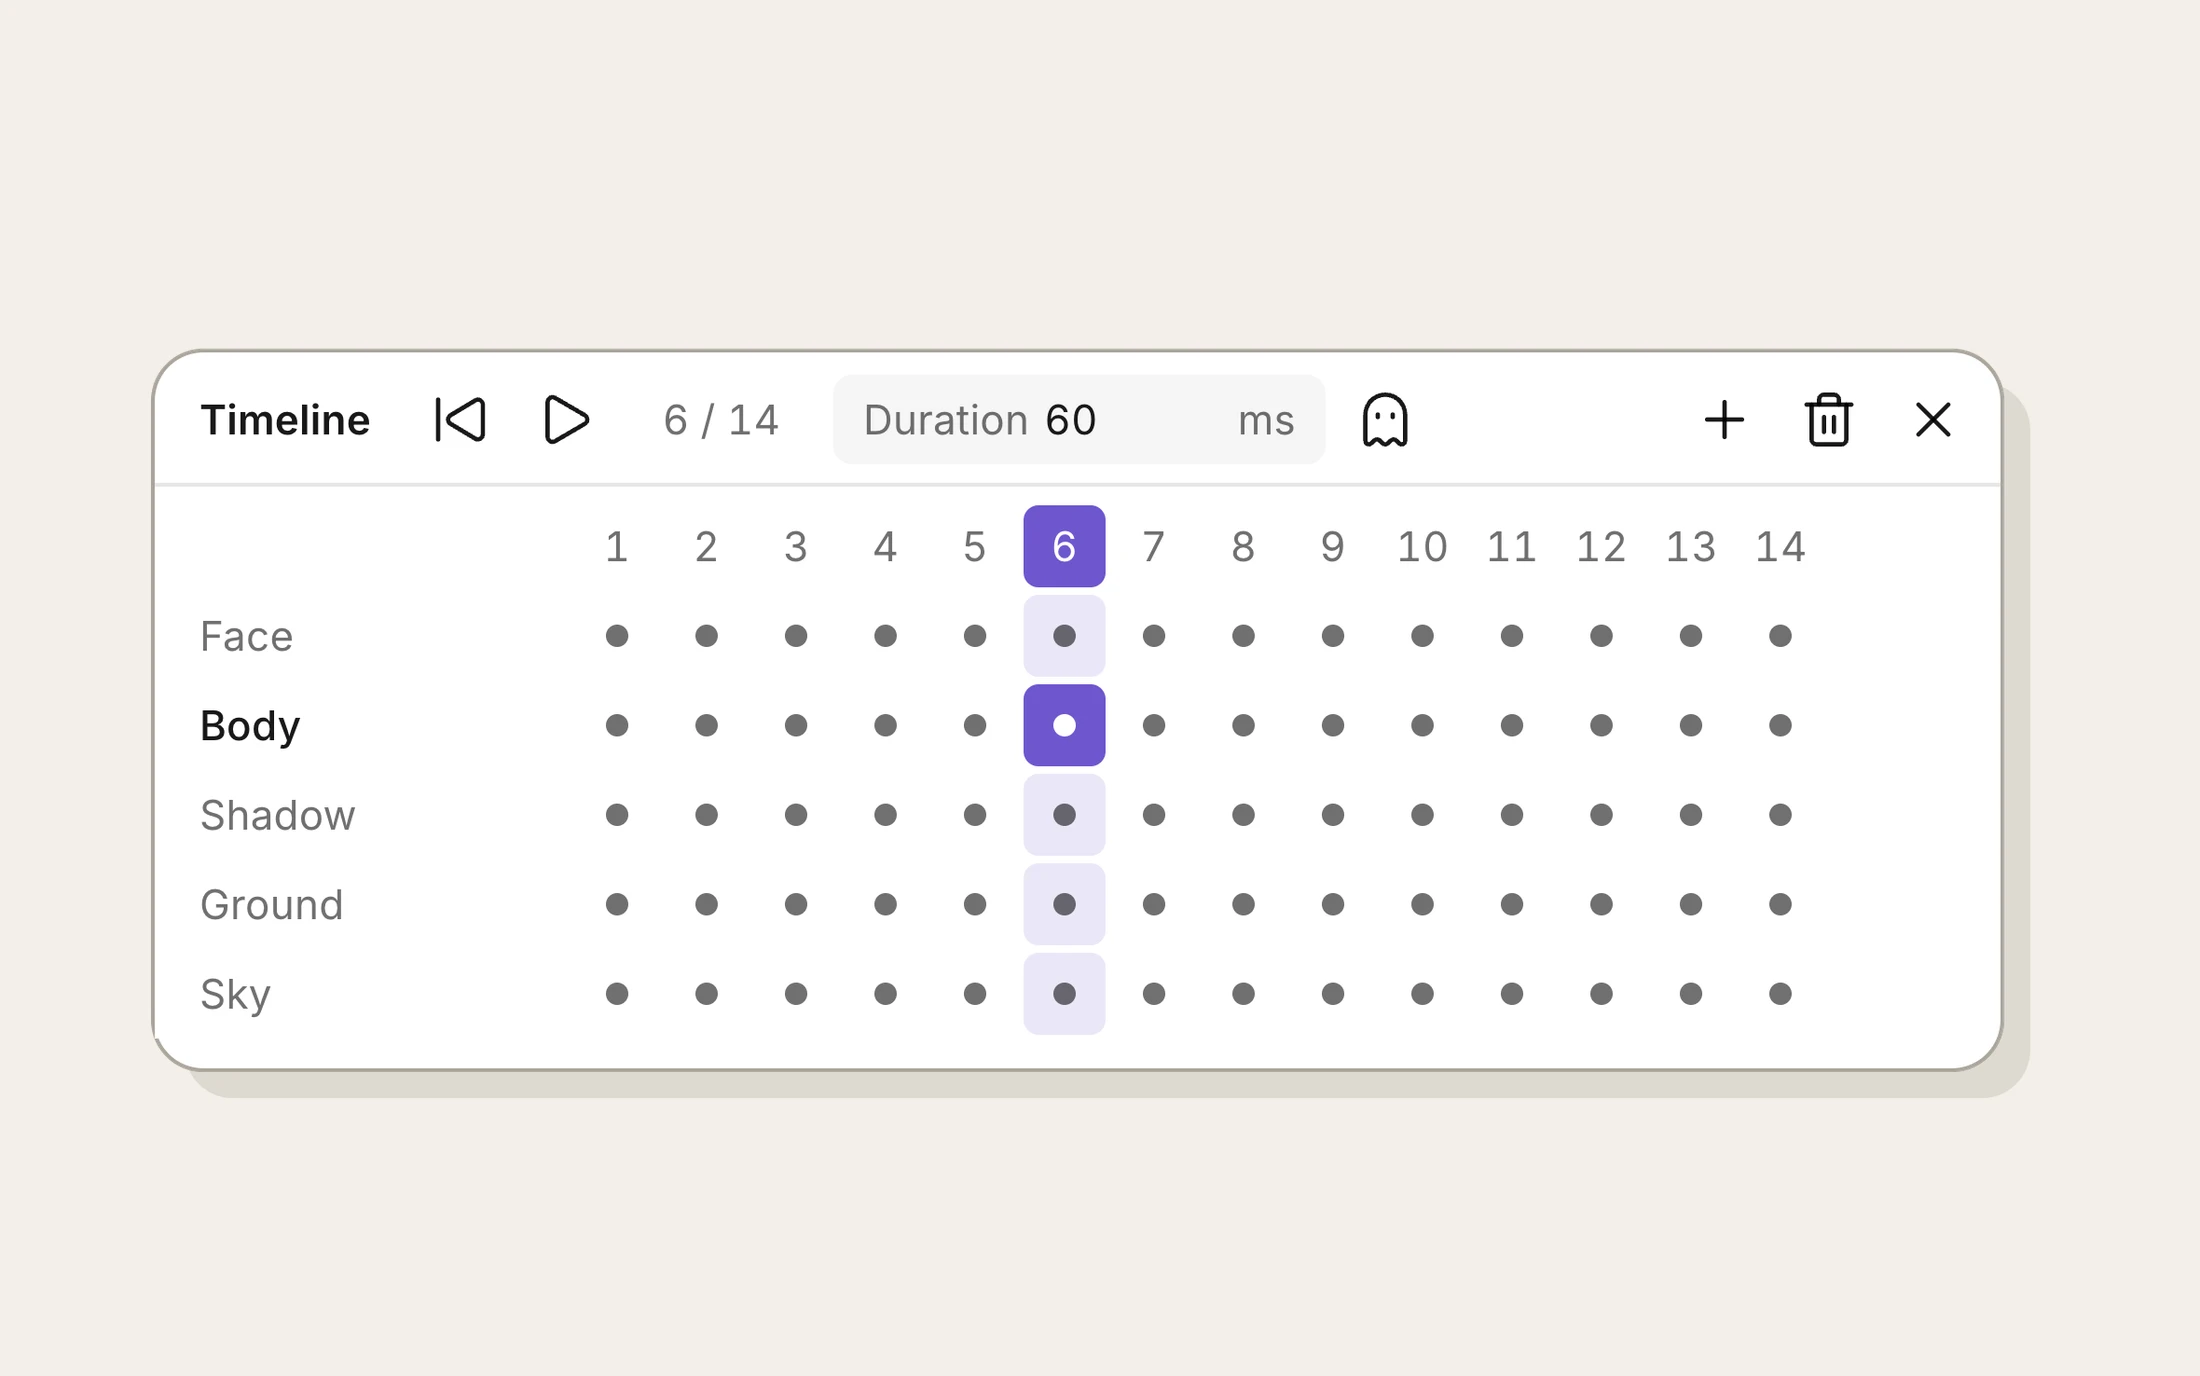
Enter, or a tap on Space, plays the animation in a loop. , and . go back and forth one frame at a time.
On the files screen, animated drawings have a small film badge.
Several frames at once
Some changes are about a whole part of the move: slowing it down, or playing it backwards. Doing that one frame at a time gets old fast. You can pick several frames with Shift or Cmd/Ctrl-click, then right-click them. You can set their duration, copy, paste, reverse or delete them all at once.
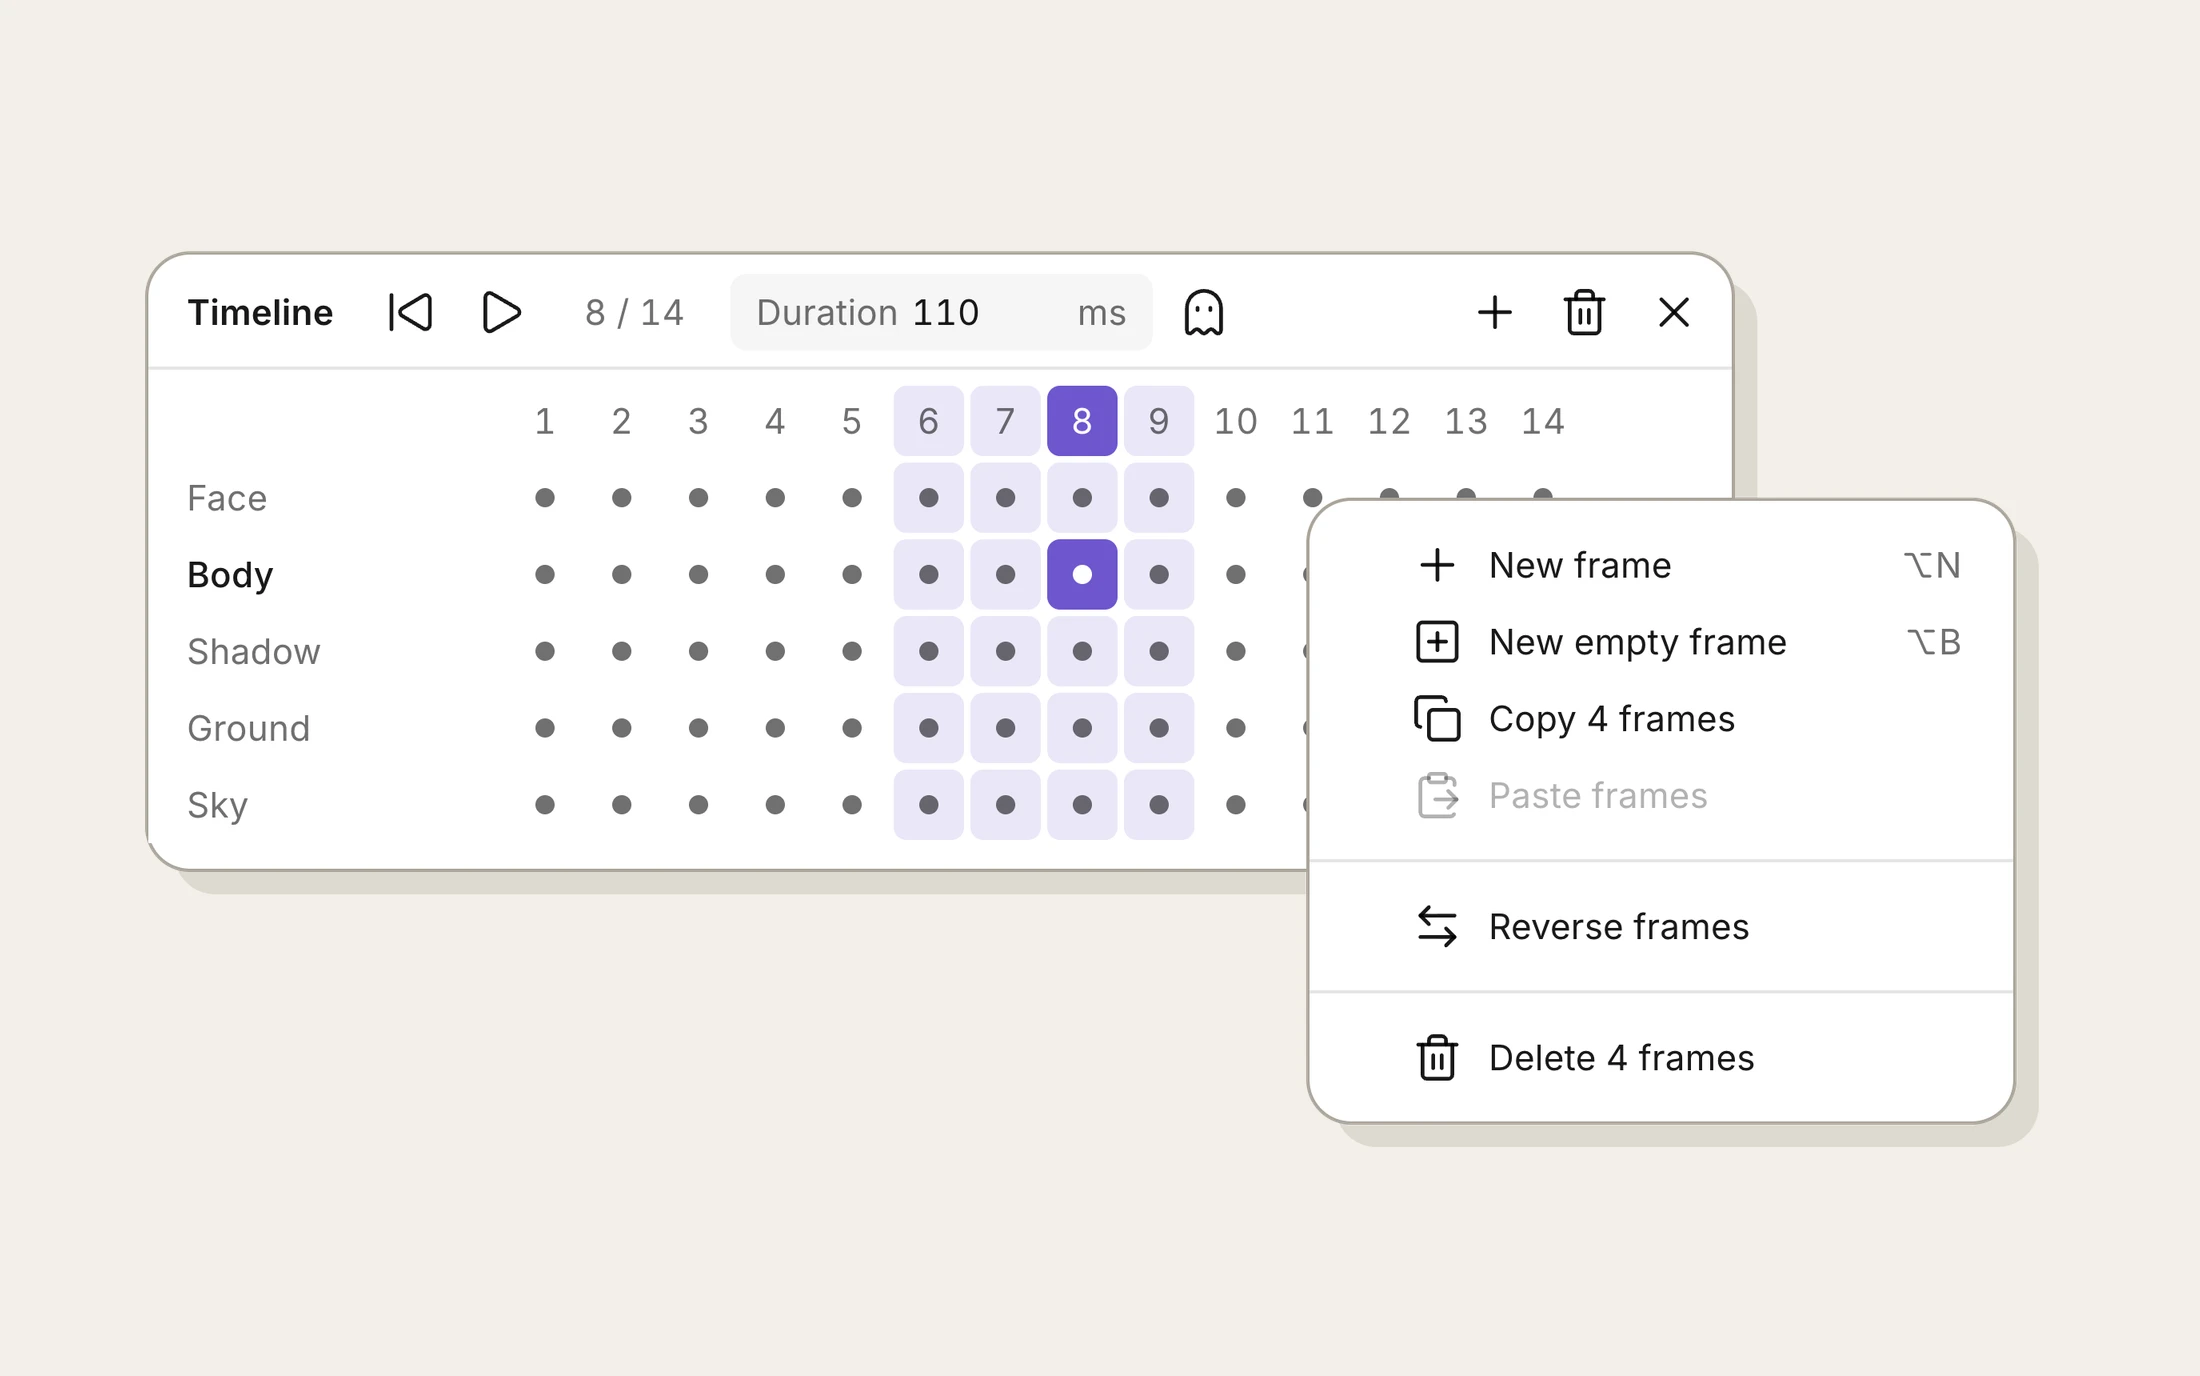
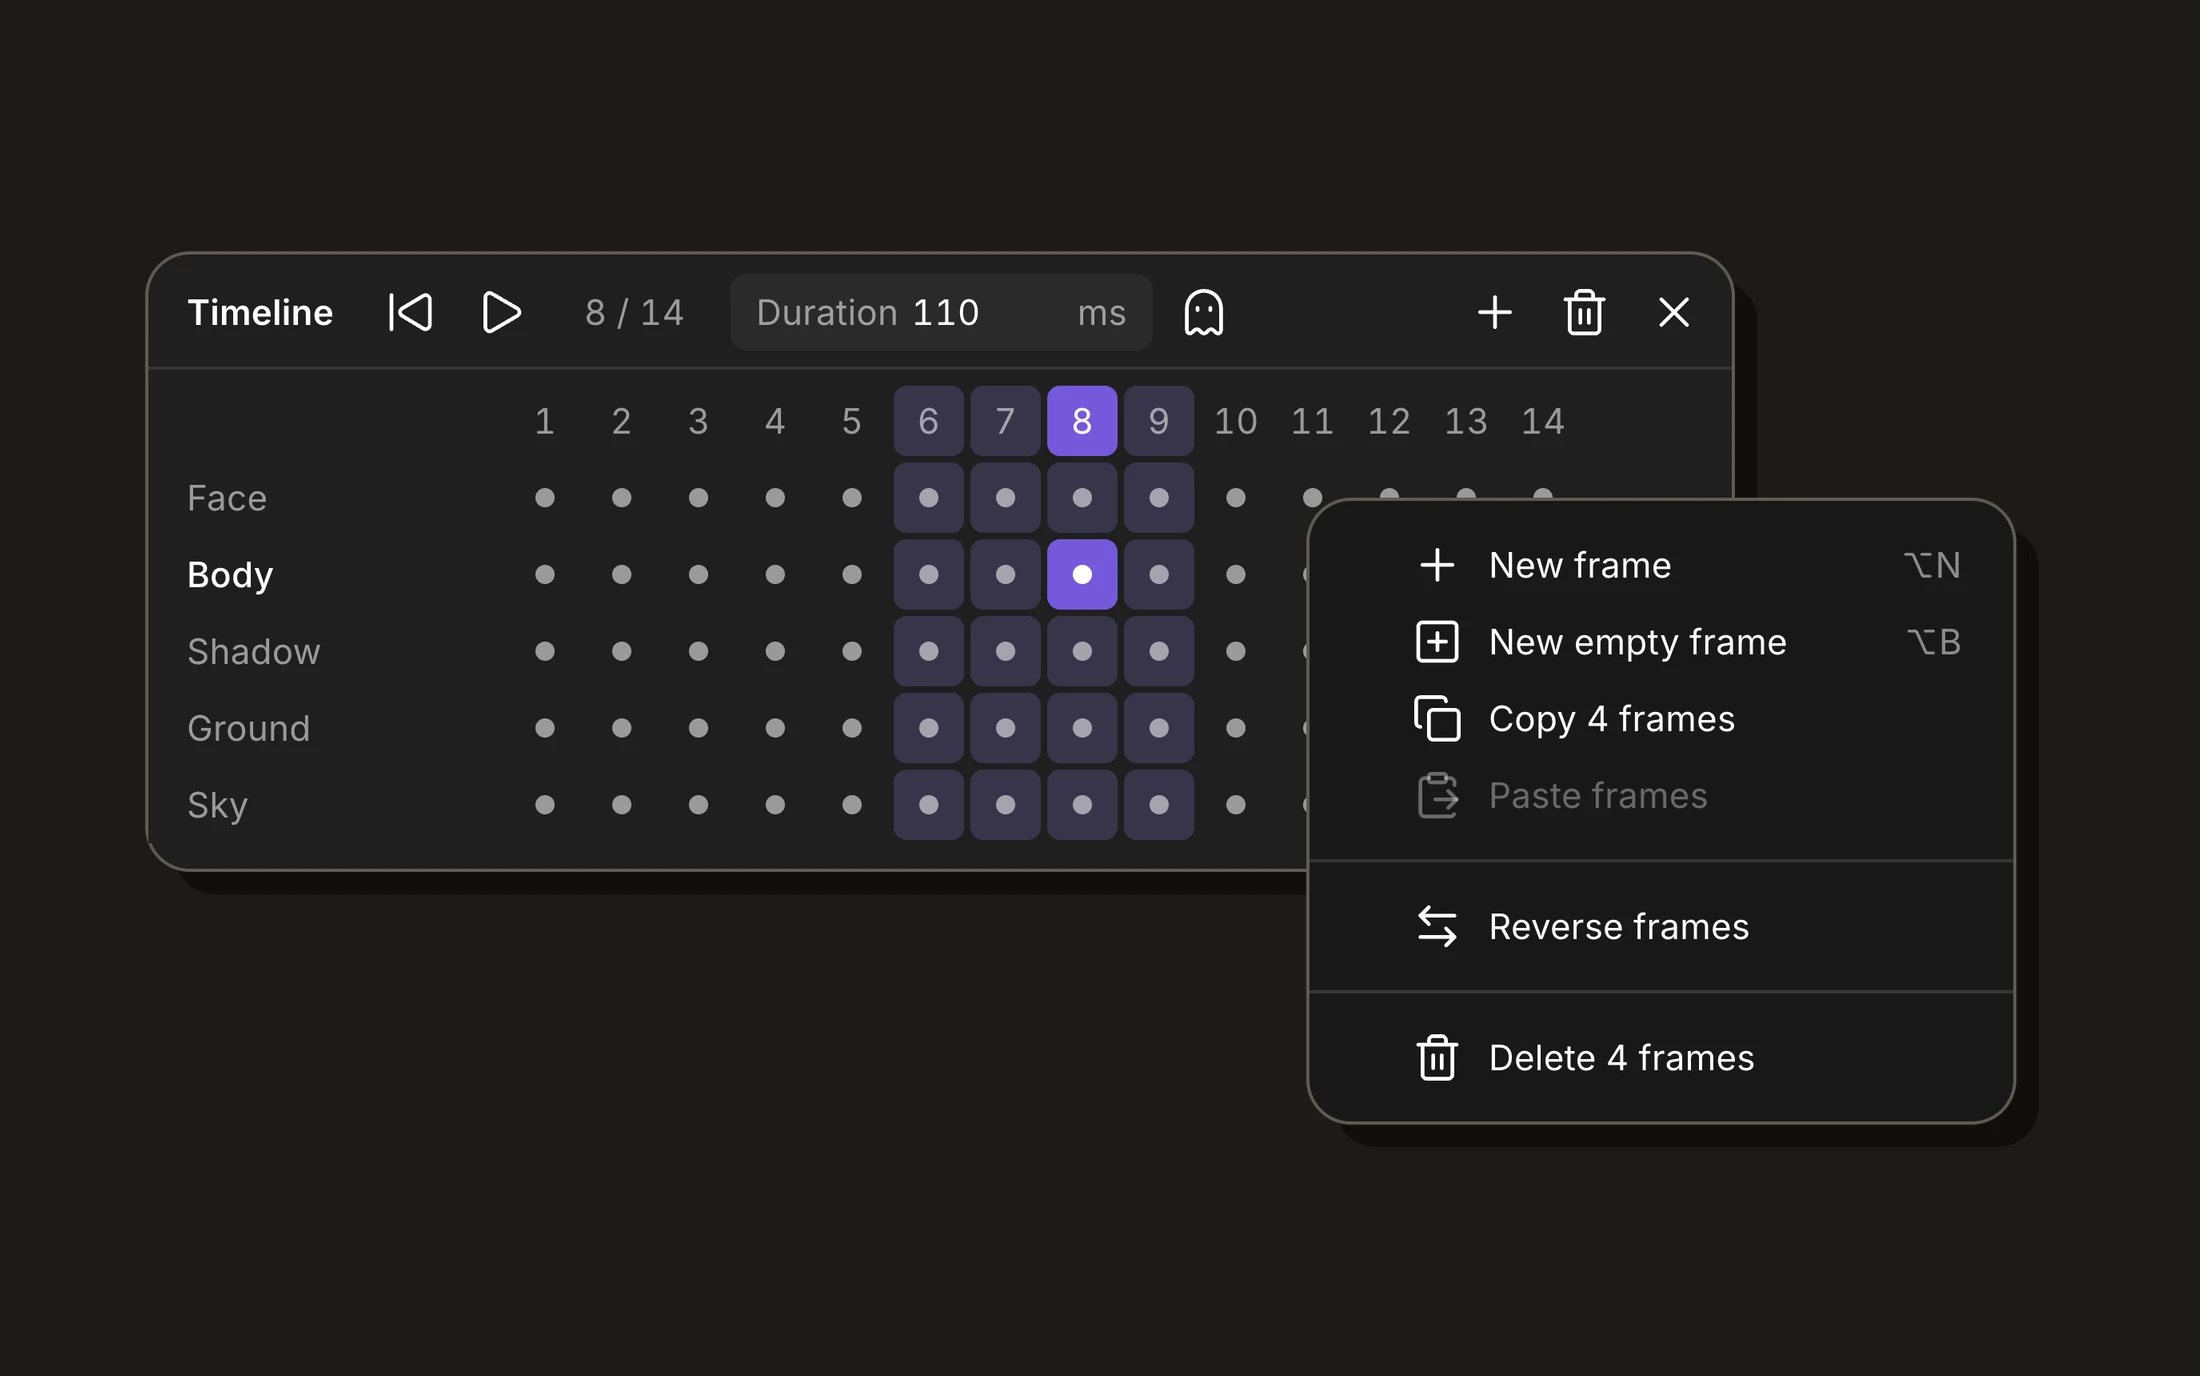
Reverse helps for a move that comes back. Copy the frames of the slime going up, paste them, reverse them, and it comes down.
New empty frame (Alt+B) keeps the scenery and empties what moves, to draw the next pose from scratch.
Onion skin
With onion skin on, the frames before the one you’re drawing show in red, and the ones after in blue, faded under it. The ghost button in the timeline turns it on and off.
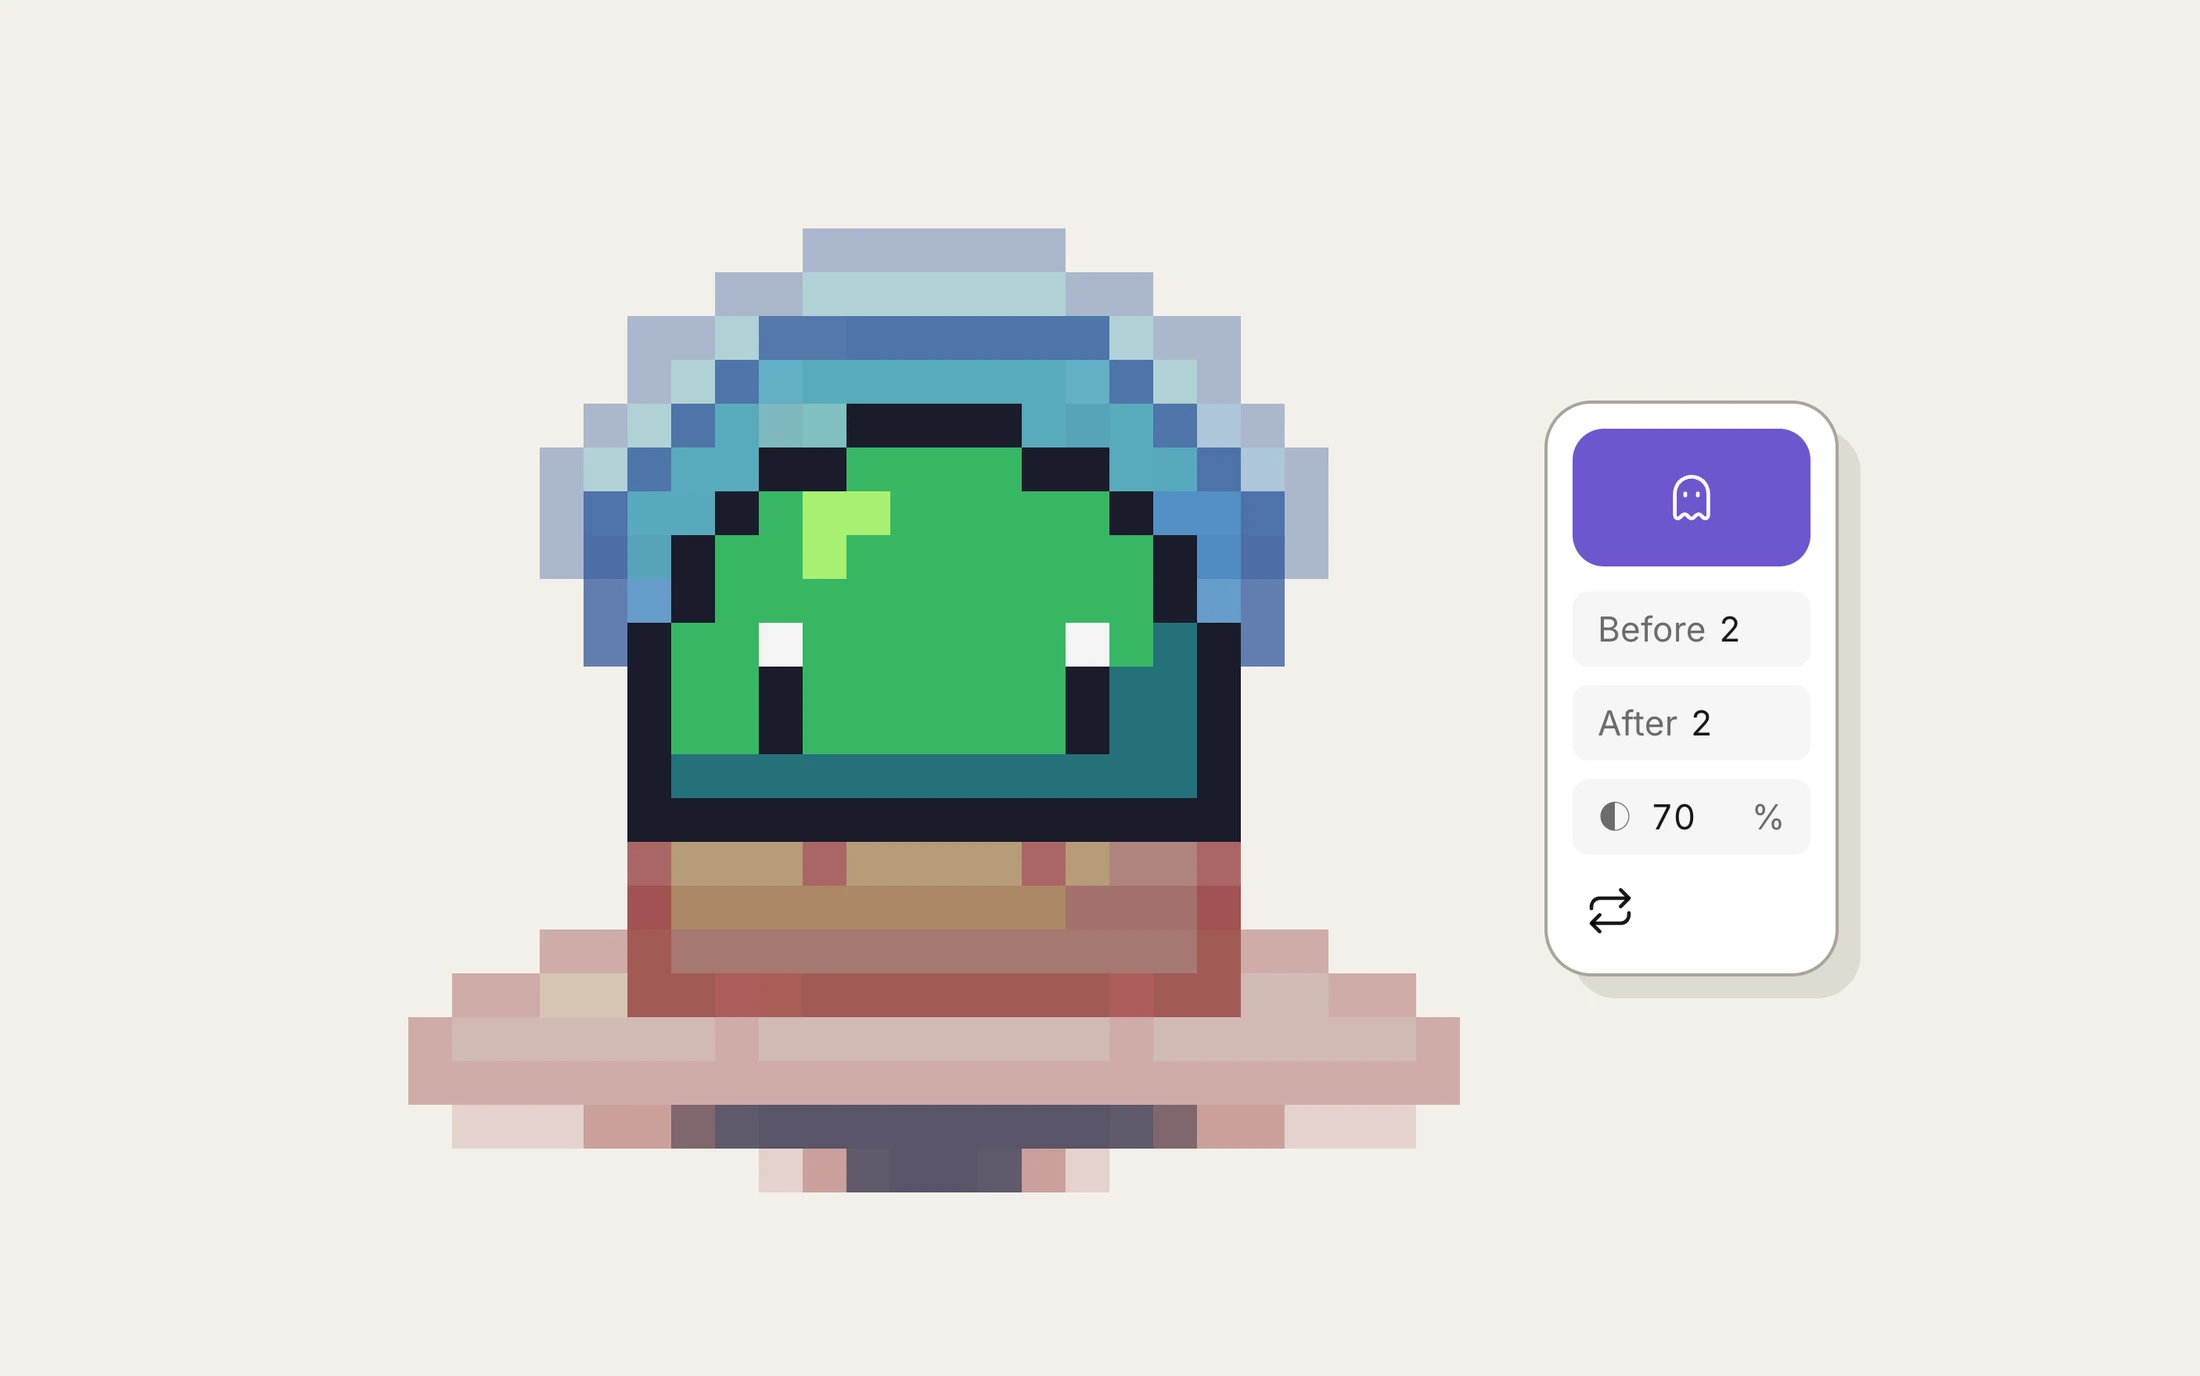
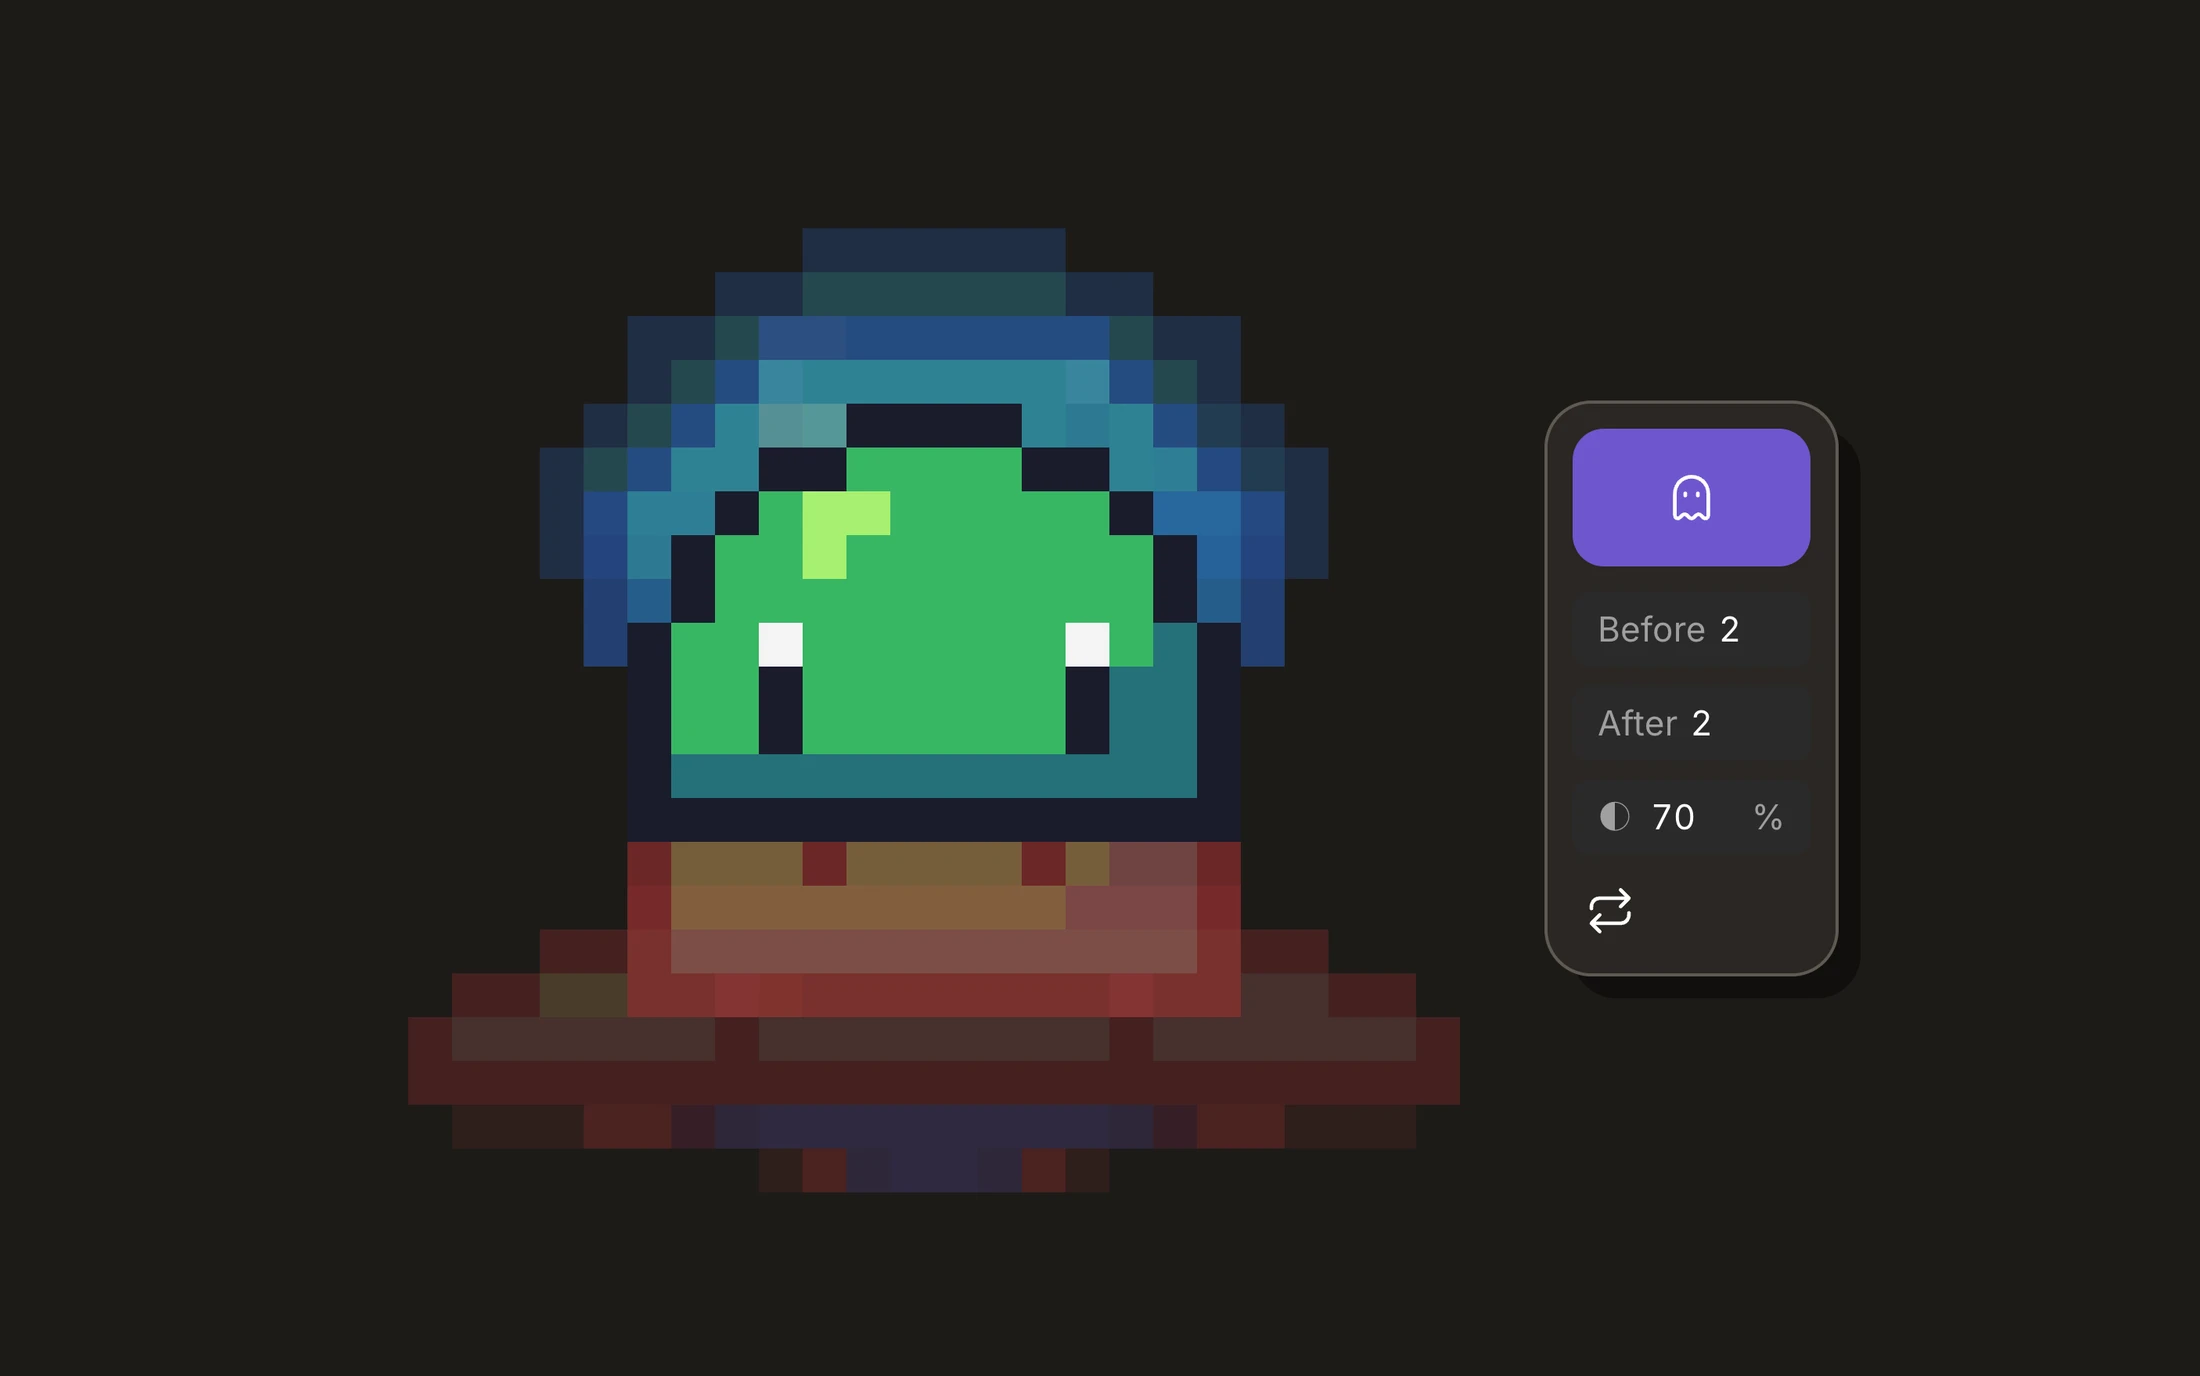
You can show up to five frames on each side. A sky or a ground painted on its own layer stays under it all.
For an animation that loops, the arrows next to the opacity turn on Loop. On the first frame, the last ones show before it in red, and on the last frame, the first ones show after it in blue.
A GIF
In the Export dialog, pick GIF.
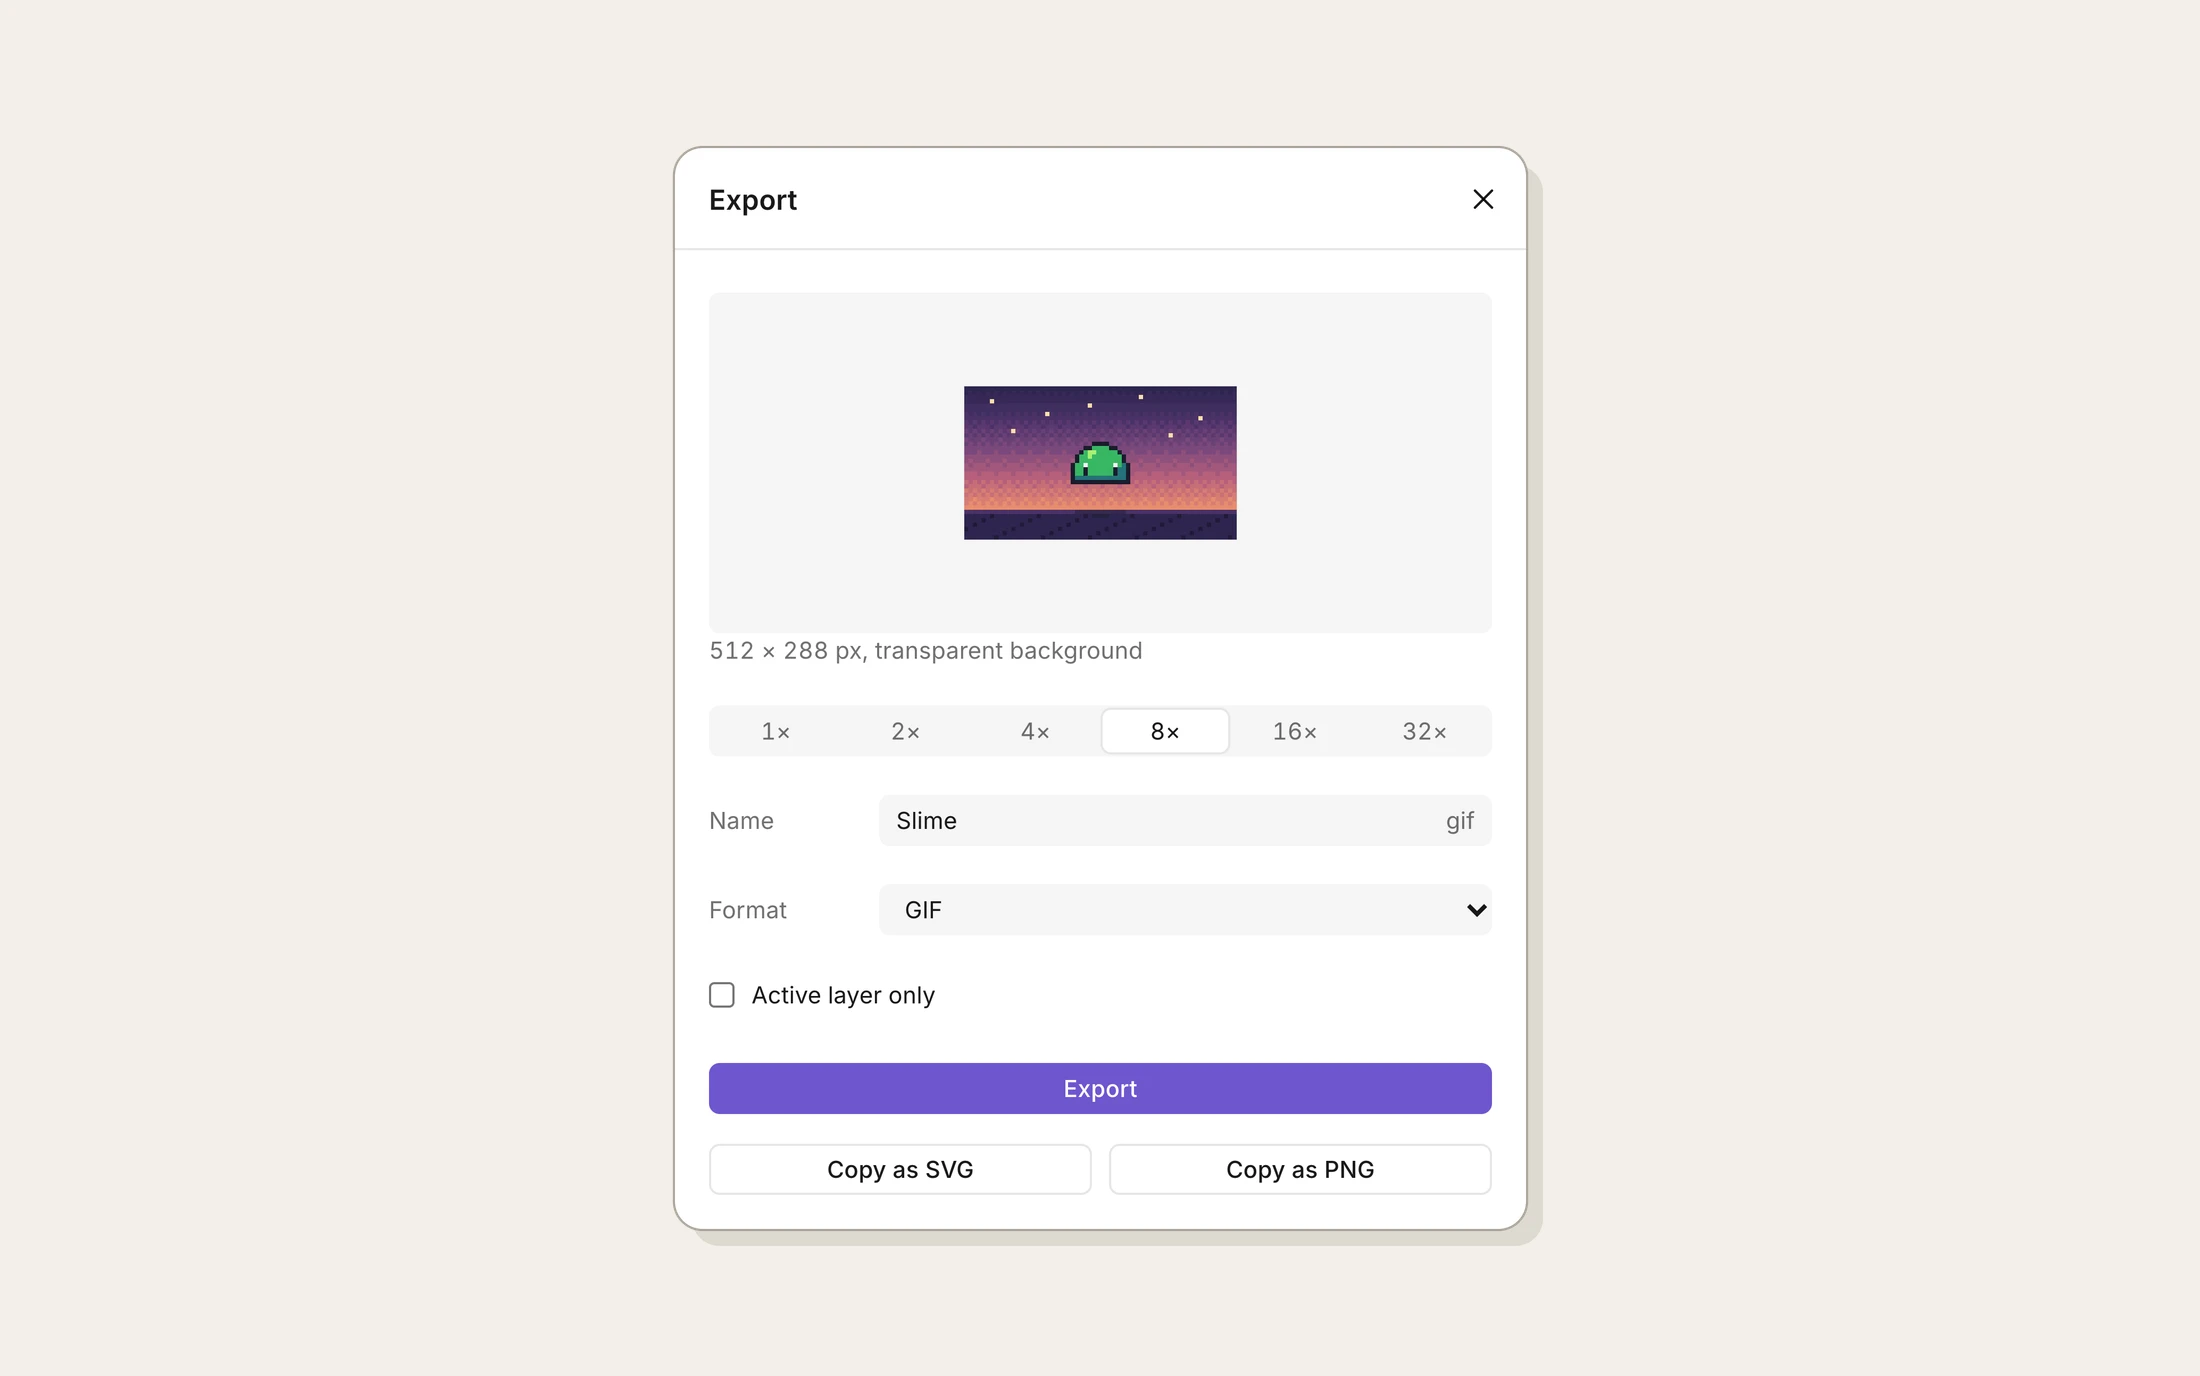
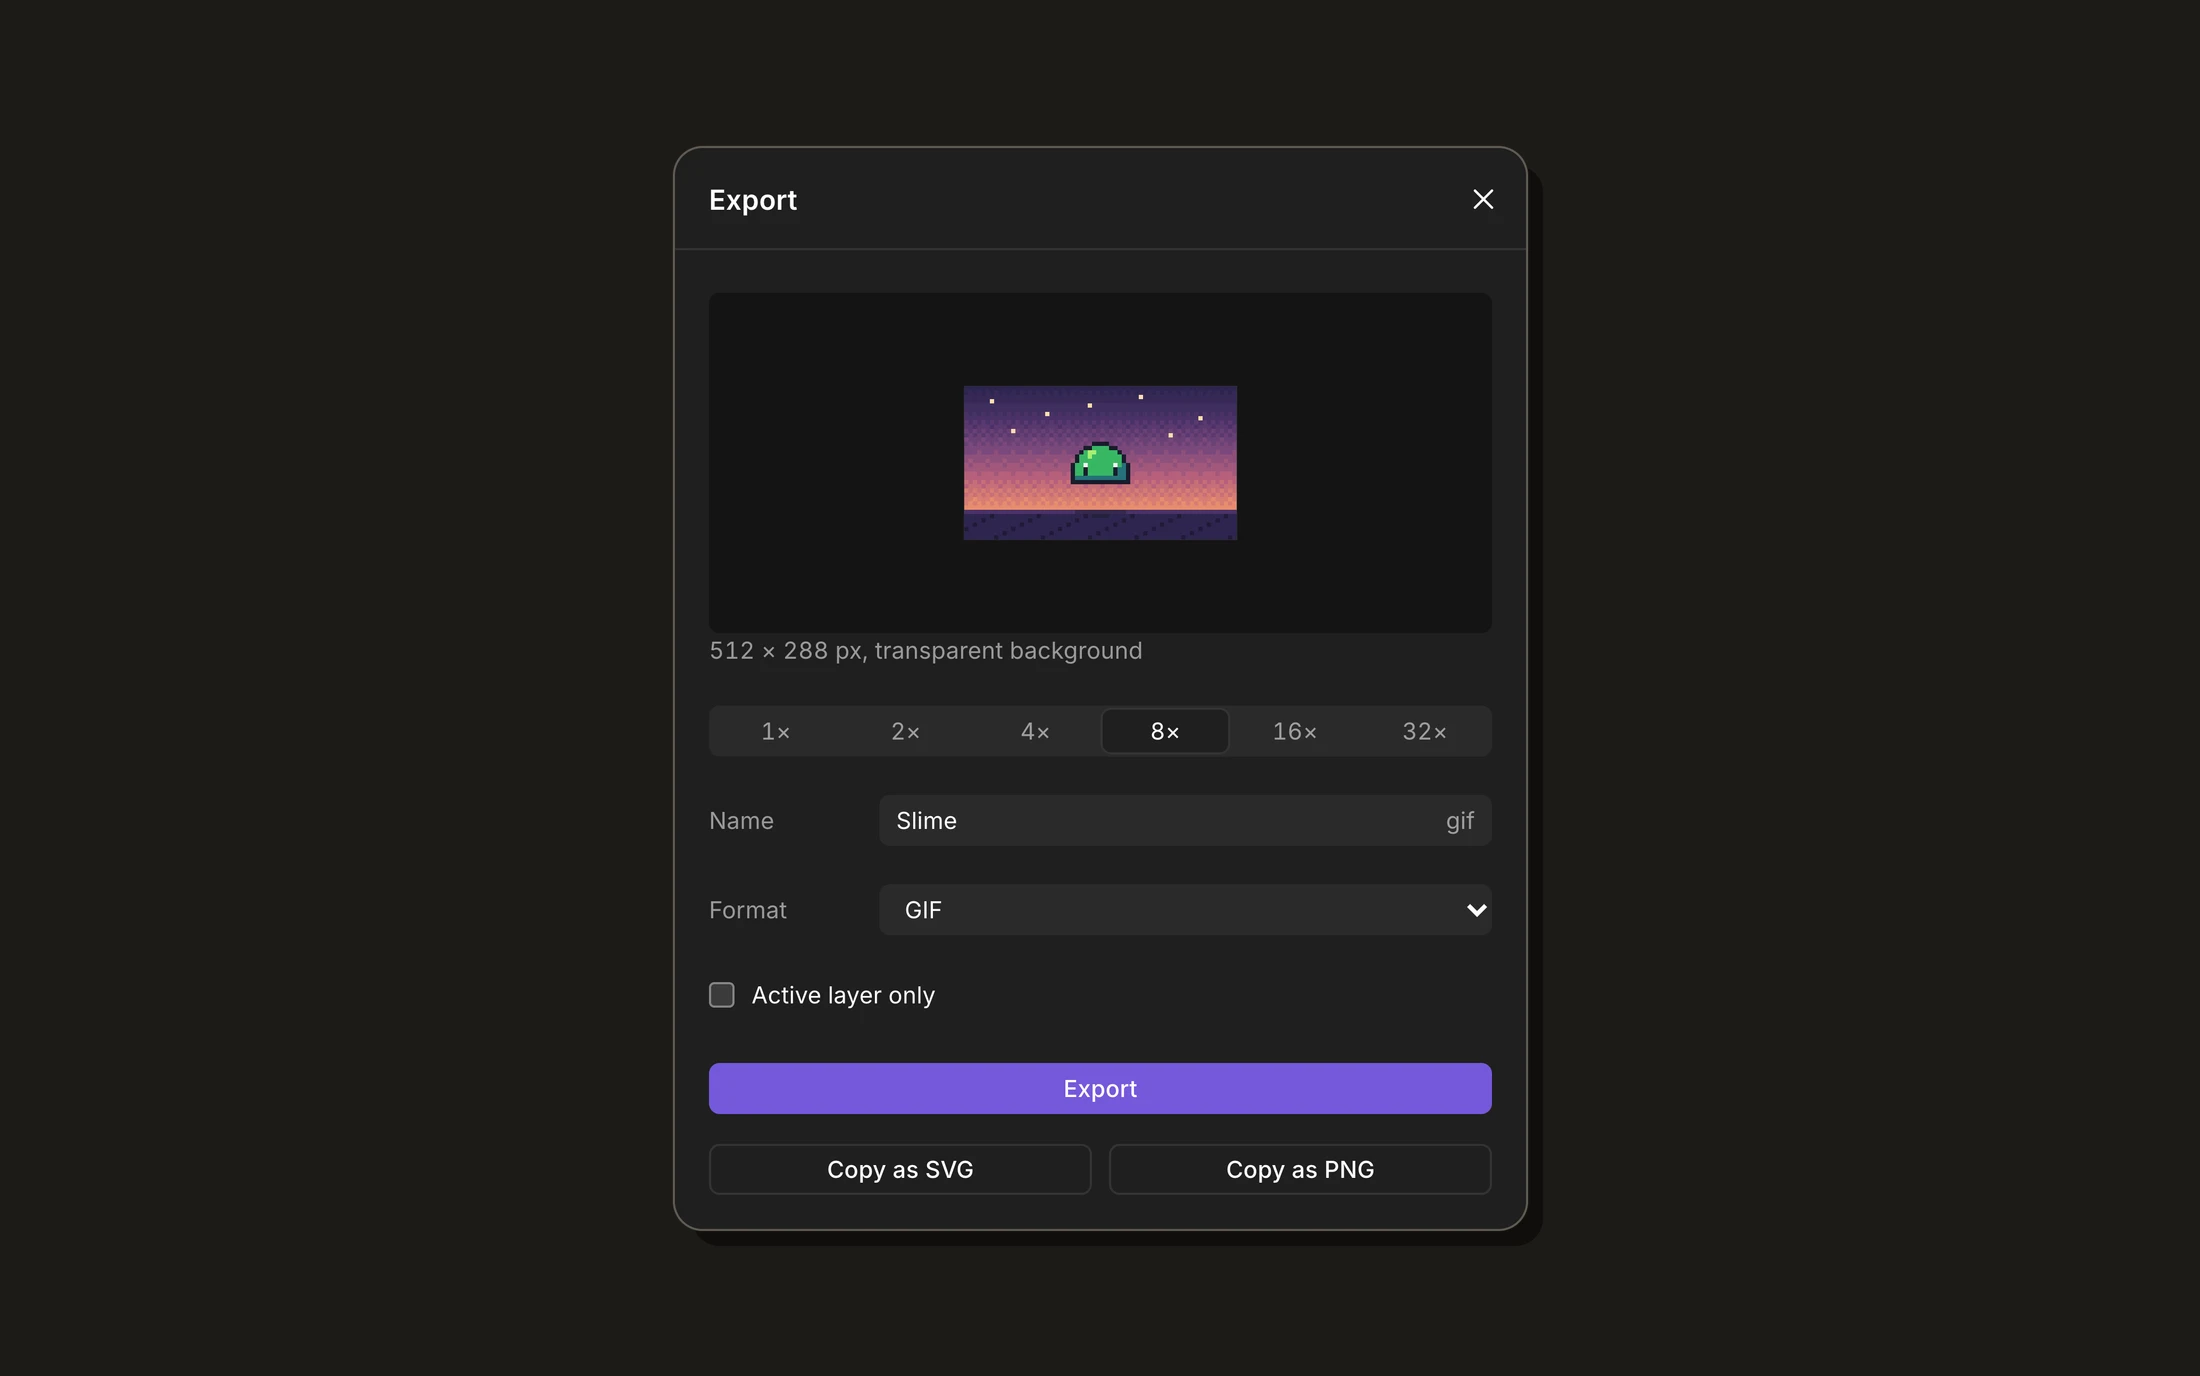
You get every frame with its duration, looping, with the exact colors of your drawing. It can be transparent or on the background, at the pixel size you pick.
With All boards ticked, you get one GIF per board, in a .zip.
For a game engine
Game engines usually want the frames apart. There are two ways to get them.
A PNG sequence gives you one PNG per frame, named in order, in a .zip. With All boards, each board gets its own folder.
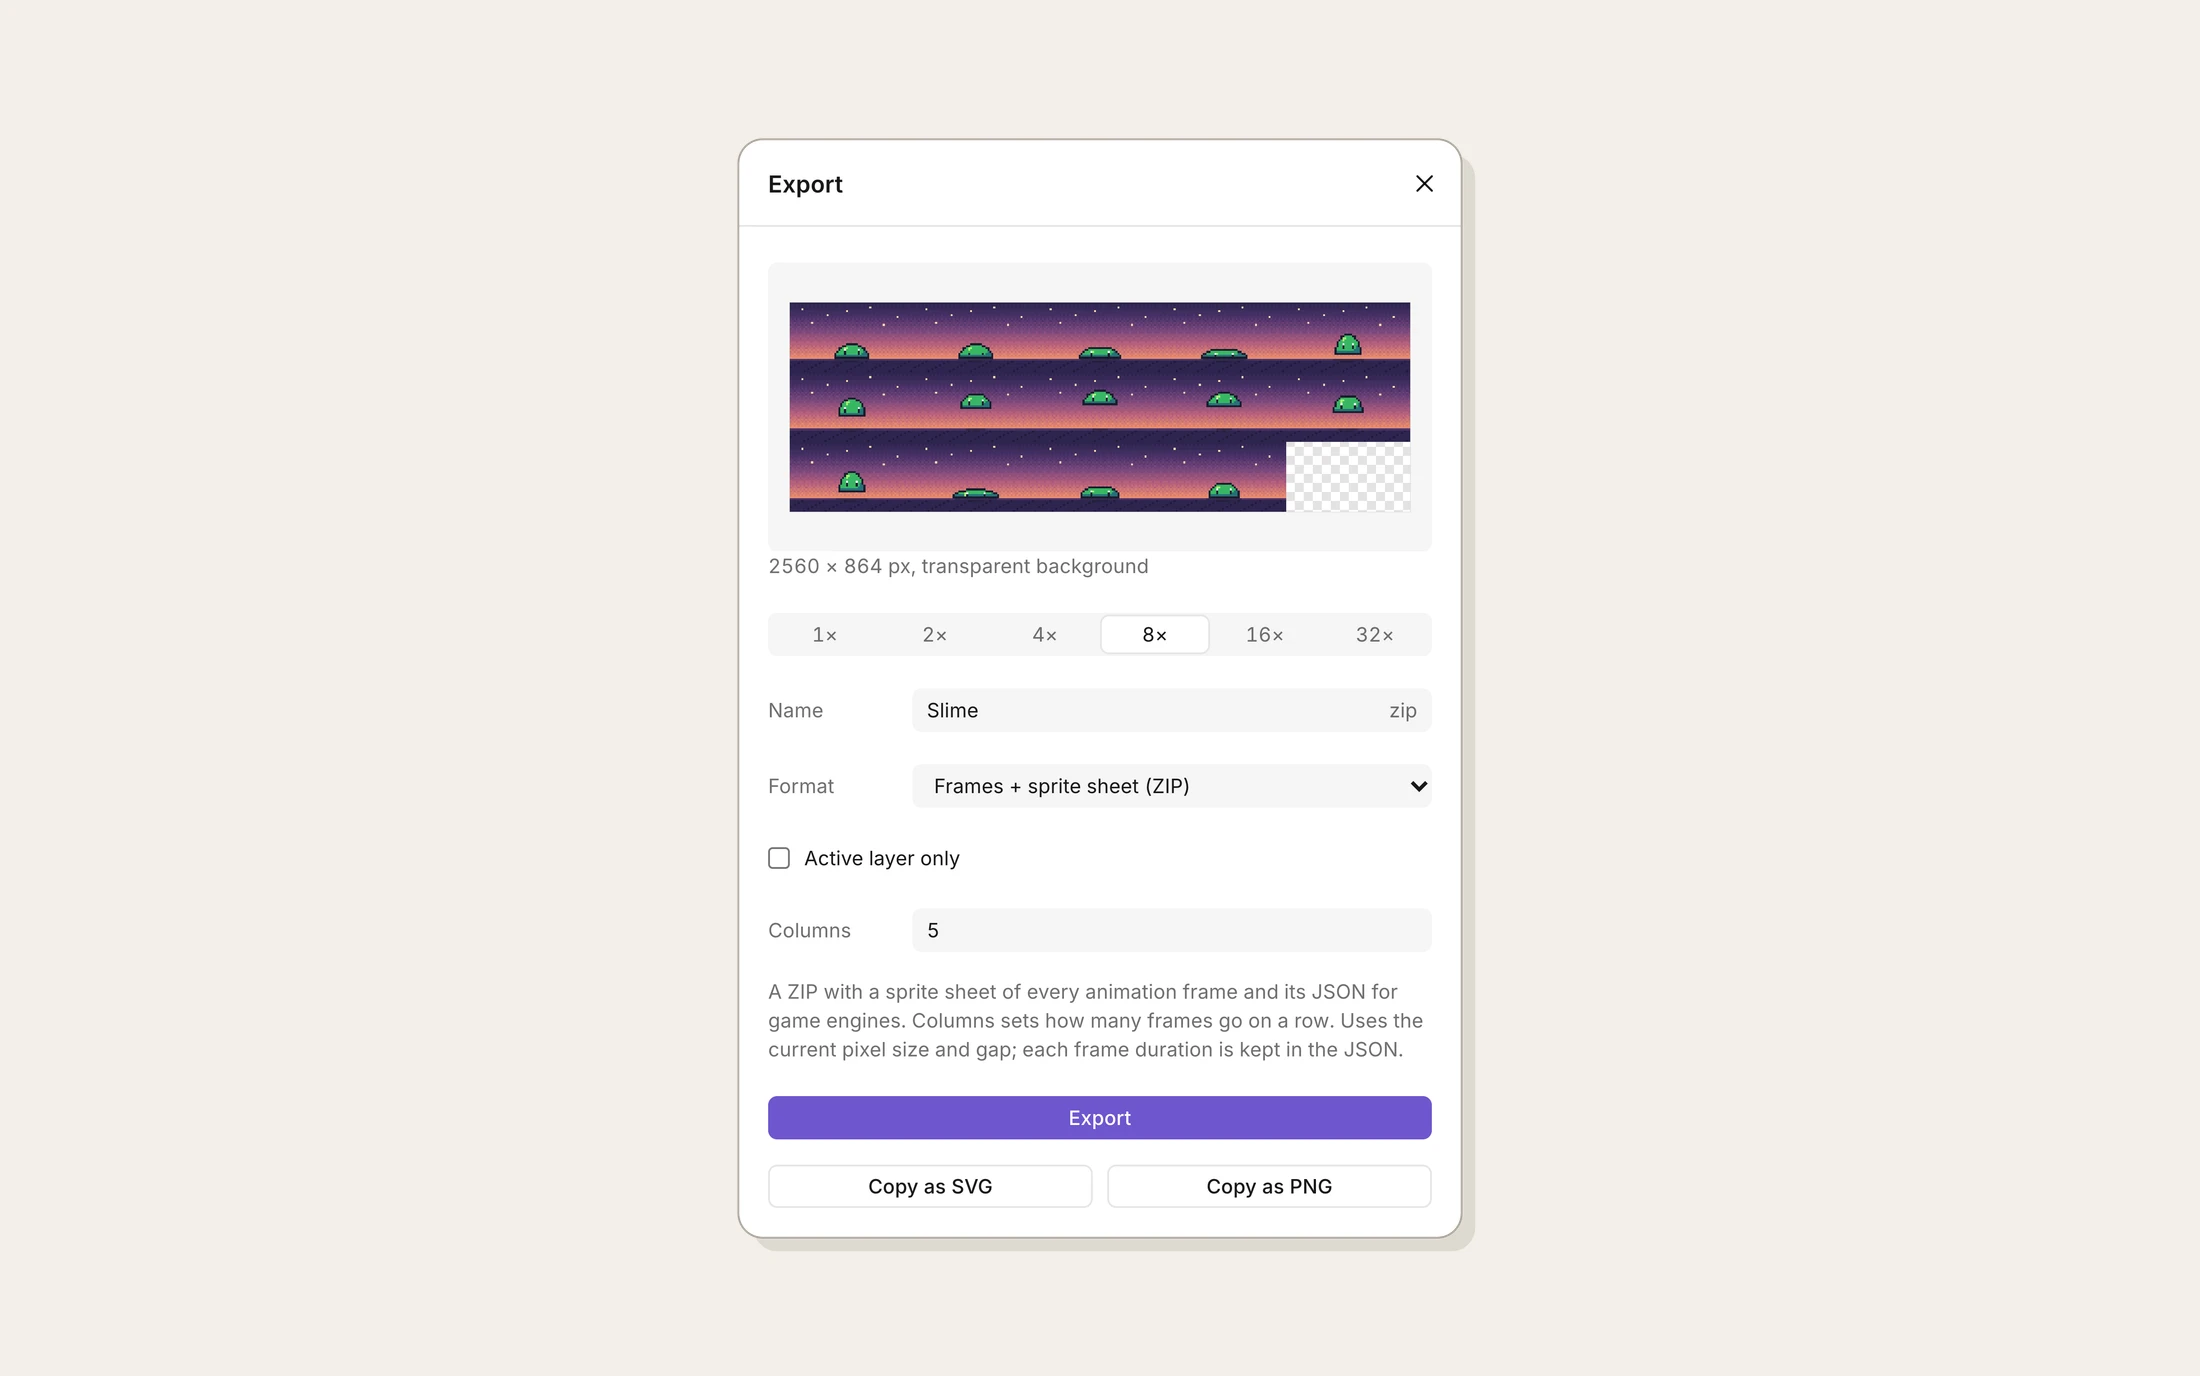
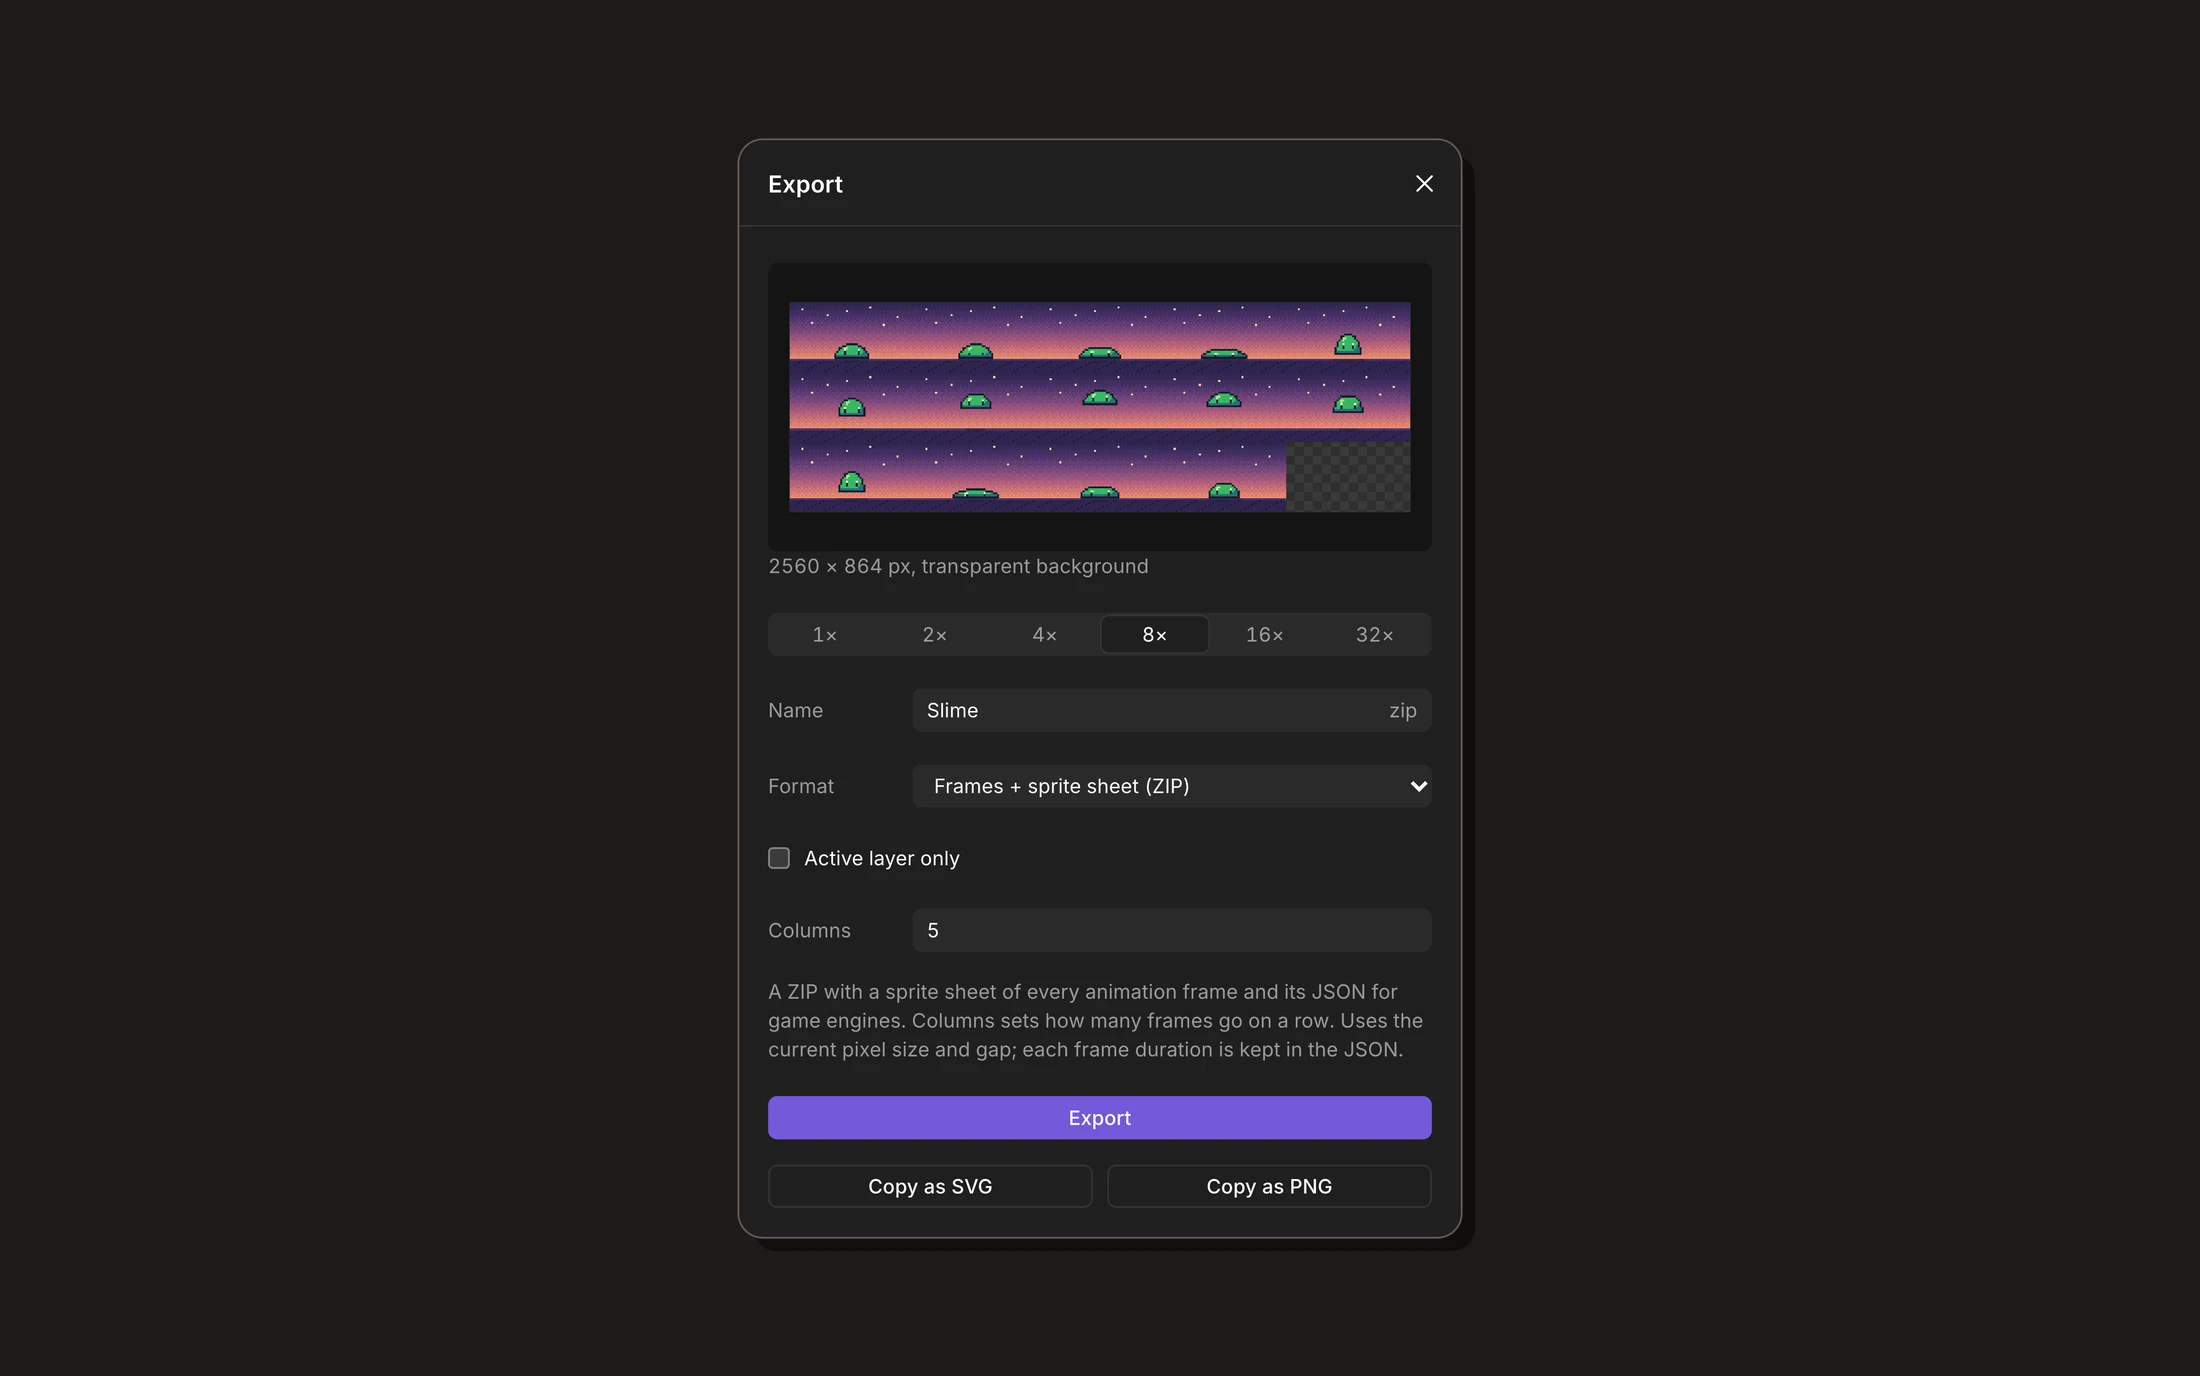
A sprite sheet puts every frame on one picture, with a JSON next to it that says where each frame is and how long it lasts. It’s the TexturePacker format, which a lot of engines and their plugins read. Columns sets how many frames go on a row.
To keep going in Aseprite
If you also use Aseprite, you can start an animation in Baipix and finish it there, without losing anything on the way. The Aseprite export now writes every frame, with its duration.
When a layer doesn’t change from one frame to the next, like the sky behind the slime, it becomes a linked cel there, which keeps the file small.
The animation docs go through all of this in more detail.
A light to shade by (beta)
On a big scene, it’s easy to shade one part lit from the left and the next one from the right. The light keeps the whole board in line. Each board can have a light now, to shade by, in the new Light section on the right.
This one is still a test. I’m not sure yet it’s the right way to do it, so if you try it, tell me what you think.
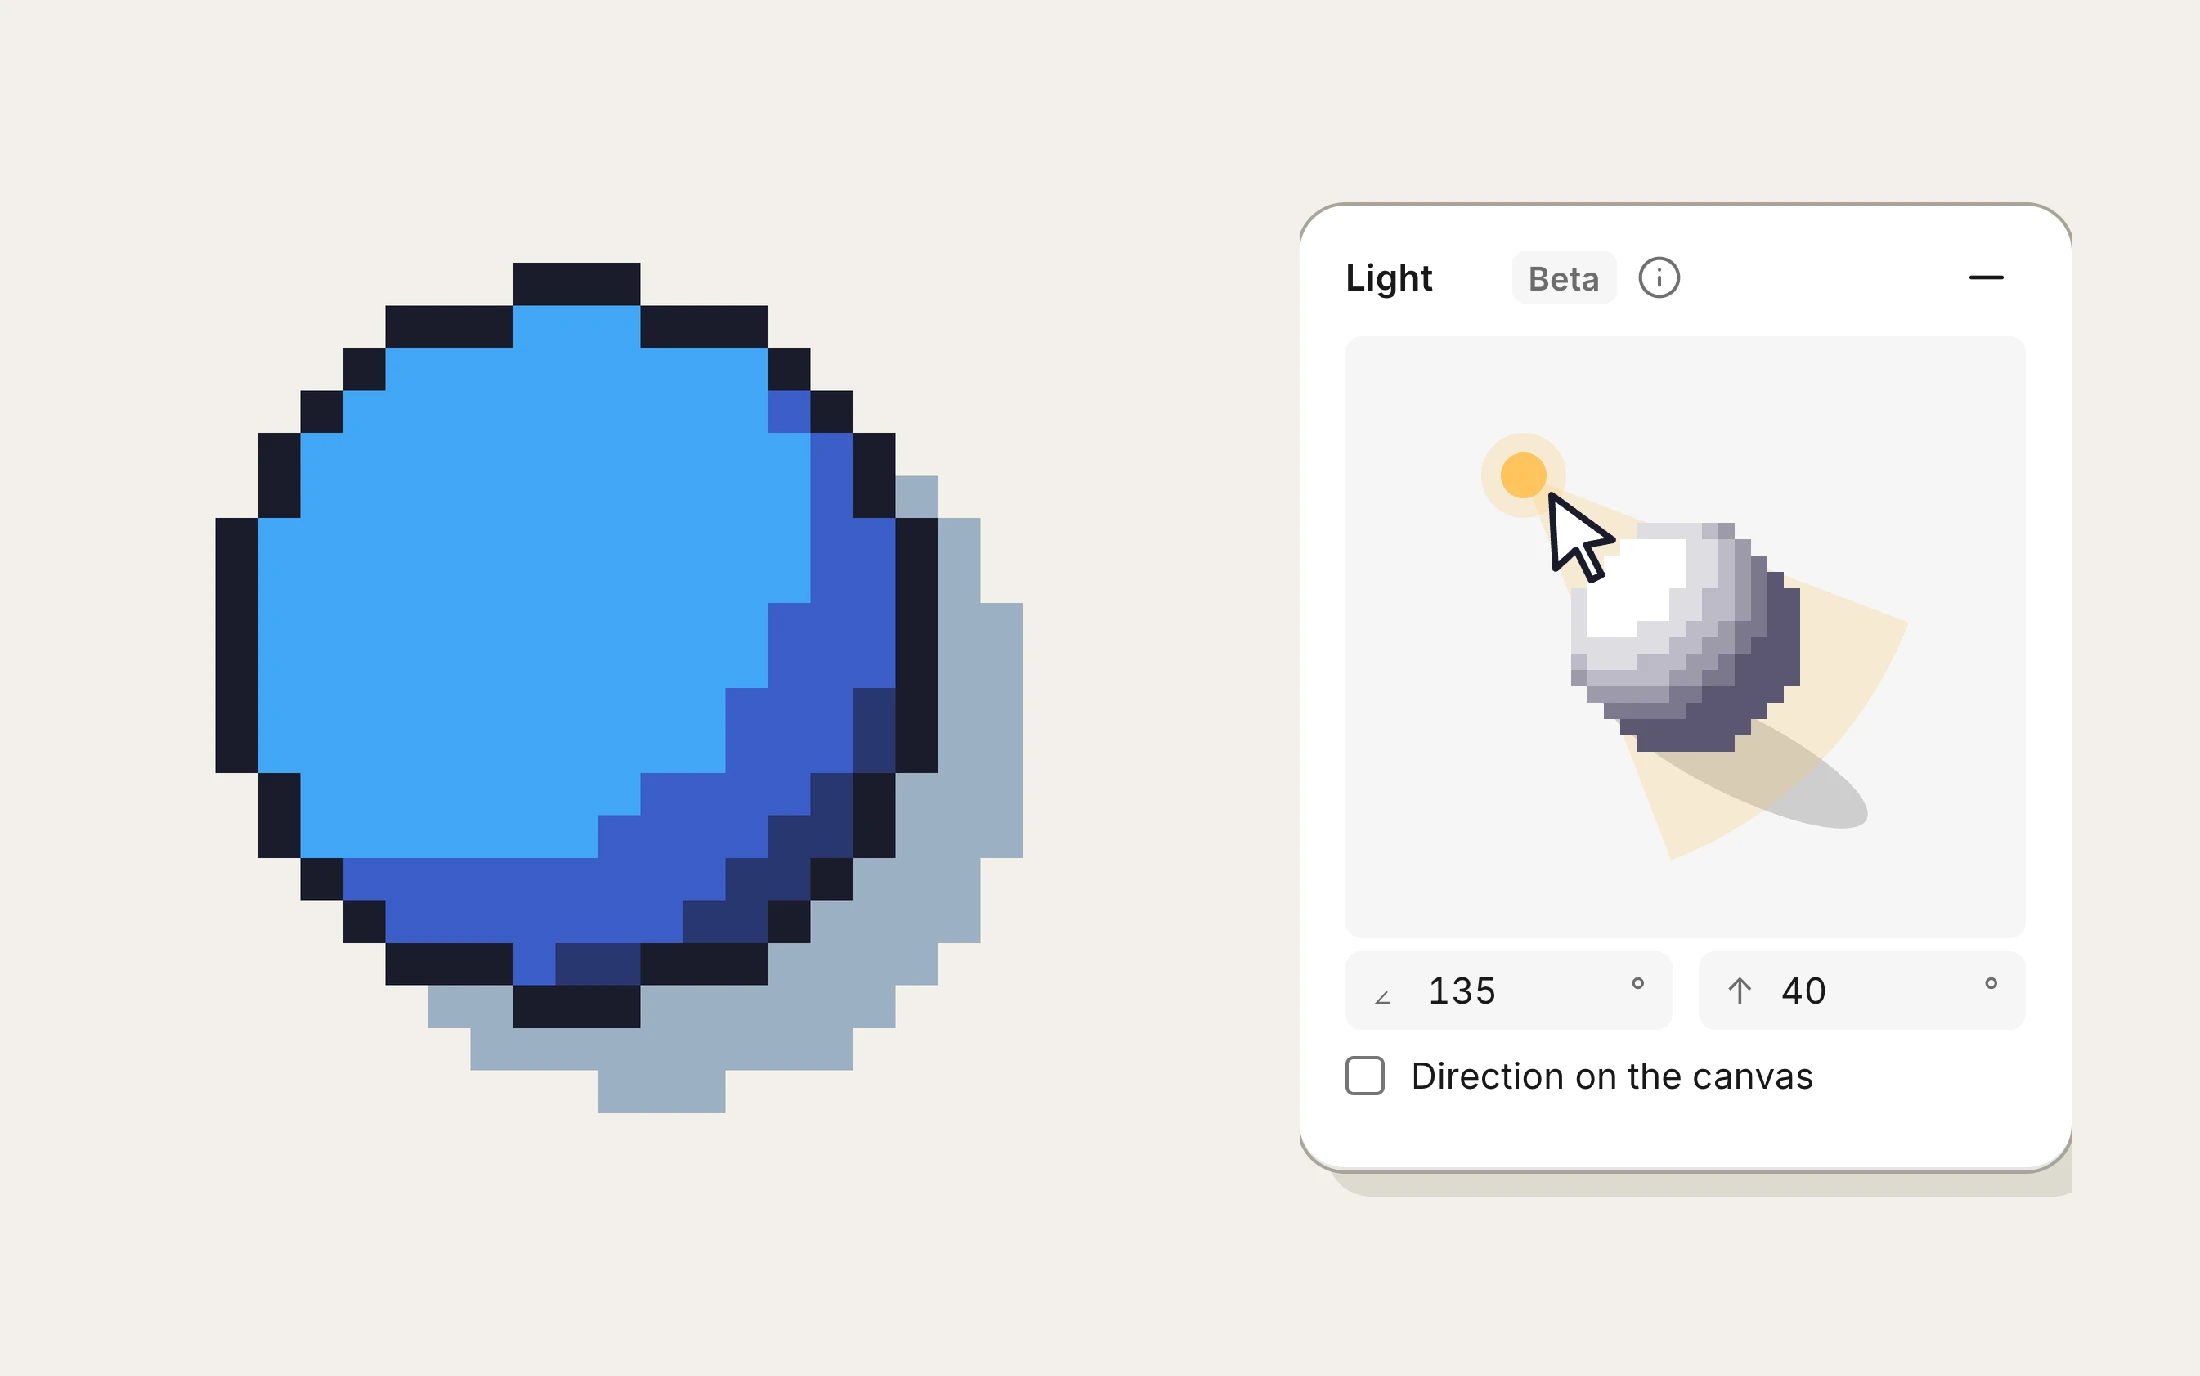
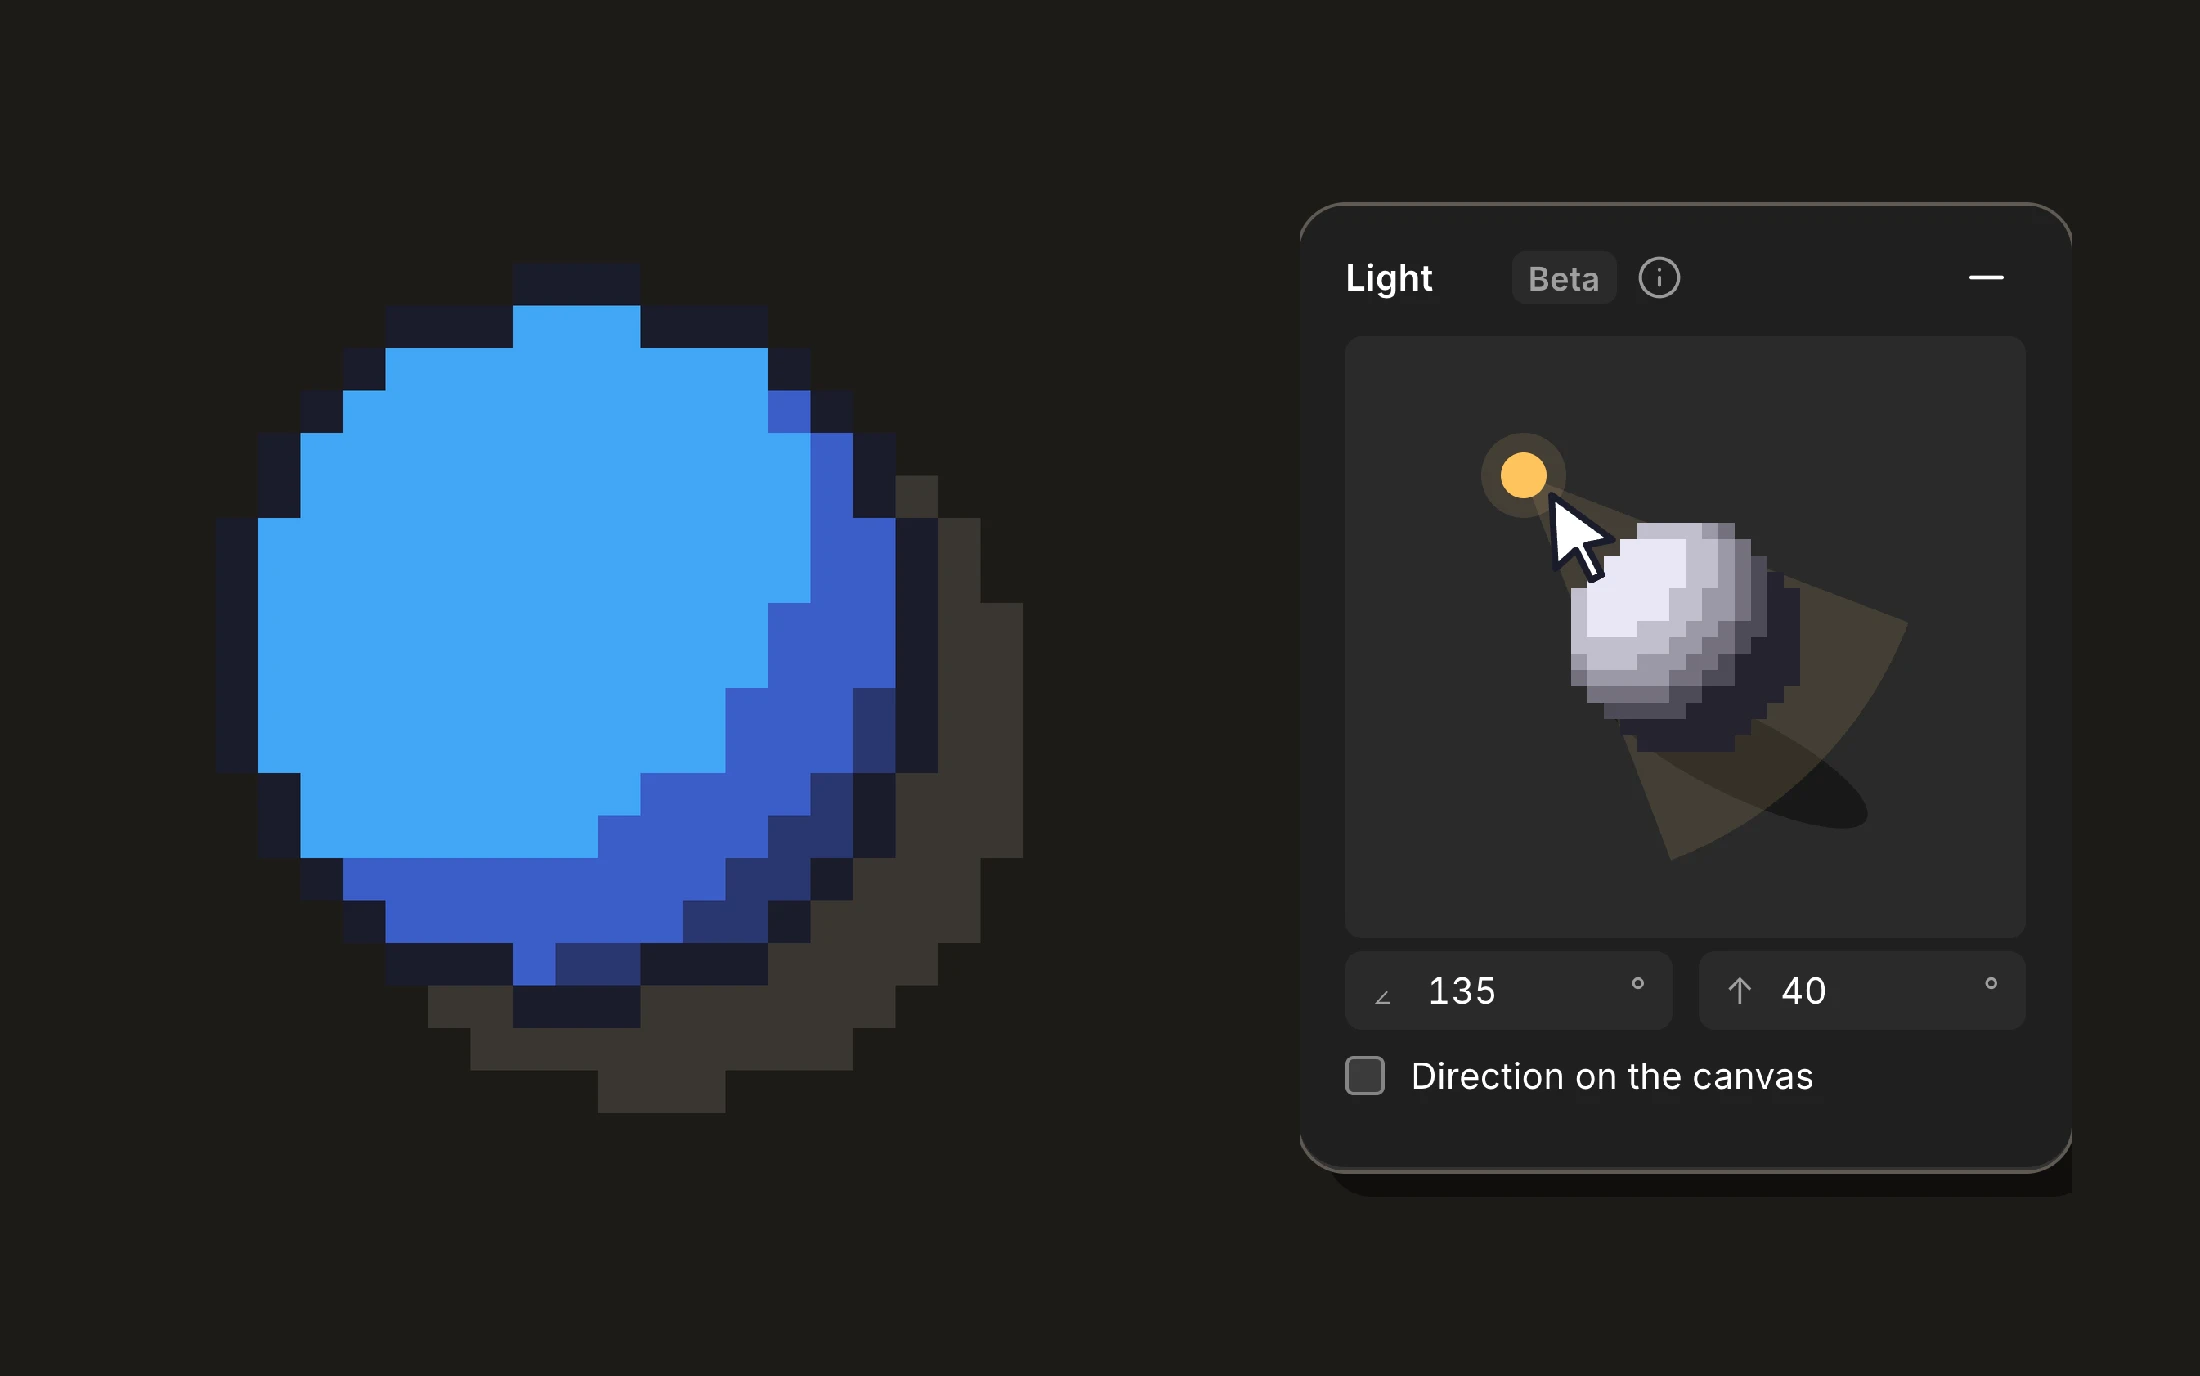
You drag the lamp around the little sphere, or type its angle and height. The sphere shows which side is lit and where the shadow falls. Faint lines and a small sun on the canvas show where the light comes from, and the sun can be dragged too.
Add a shadow that follows it puts a drop shadow on the layer. It falls away from the light, and gets longer when the light is low. Move the light, and the shadow moves with it. It’s all in the shading docs.
Colors on every frame
Trying another palette on an animation only makes sense if every frame follows. Colors, Remap and Outline change the whole animation now, in one undo. All frames is ticked by default, untick it to change only the frame you’re on. Remap also takes the colors that only show on other frames.
Remap swaps your drawing’s colors for the ones of another palette. Until now it left the board’s background alone, so a night scene could end up on a background from the old palette.
Now the background goes to the new palette too, in the same undo. If you want to keep it as it is, untick Also remap the background.
Italian and Japanese
Baipix speaks Italian and Japanese now, six languages in all. It opens in your browser’s language when it knows it, and you can change it in View › Language.


A few smaller things
Copy goes into Figma as shapes. When you copy a selection or some layers, Baipix also puts them on the clipboard as SVG. Paste them in Figma and you get shapes you can edit, one per color. Other apps still get the picture.
Shift and the arrows. In any number field, the size, the opacity, the tile size, Shift with the up and down arrows changes the value by 10, like in Figma.
Export always asks. File › Export, Ctrl+E and Ctrl+S open the Export dialog now, like the Export button. Before, they exported straight away in the last format you’d used.
Thanks
Several people worked on this release. Thank you.
- @mykola-lp made the GIF export and the frames sprite sheet, and wrote tests that run the editor in a real browser.
- @mrCabez translated Baipix into Italian.
- @rogervokma-stack translated it into Japanese, and checked it as a native speaker.
- @jalal-sadat fixed some React warnings, a first contribution.
- @bfs2021 made the files screen fill wide windows.
Try it
There’s nothing to install or update. Open the editor, your drawings are where you left them. Click the film next to Export and make something move.
The full list of changes is in the release notes, and what’s coming next is on the roadmap.
If something doesn’t work, or you’d like it to work differently, tell me on GitHub.