The interface
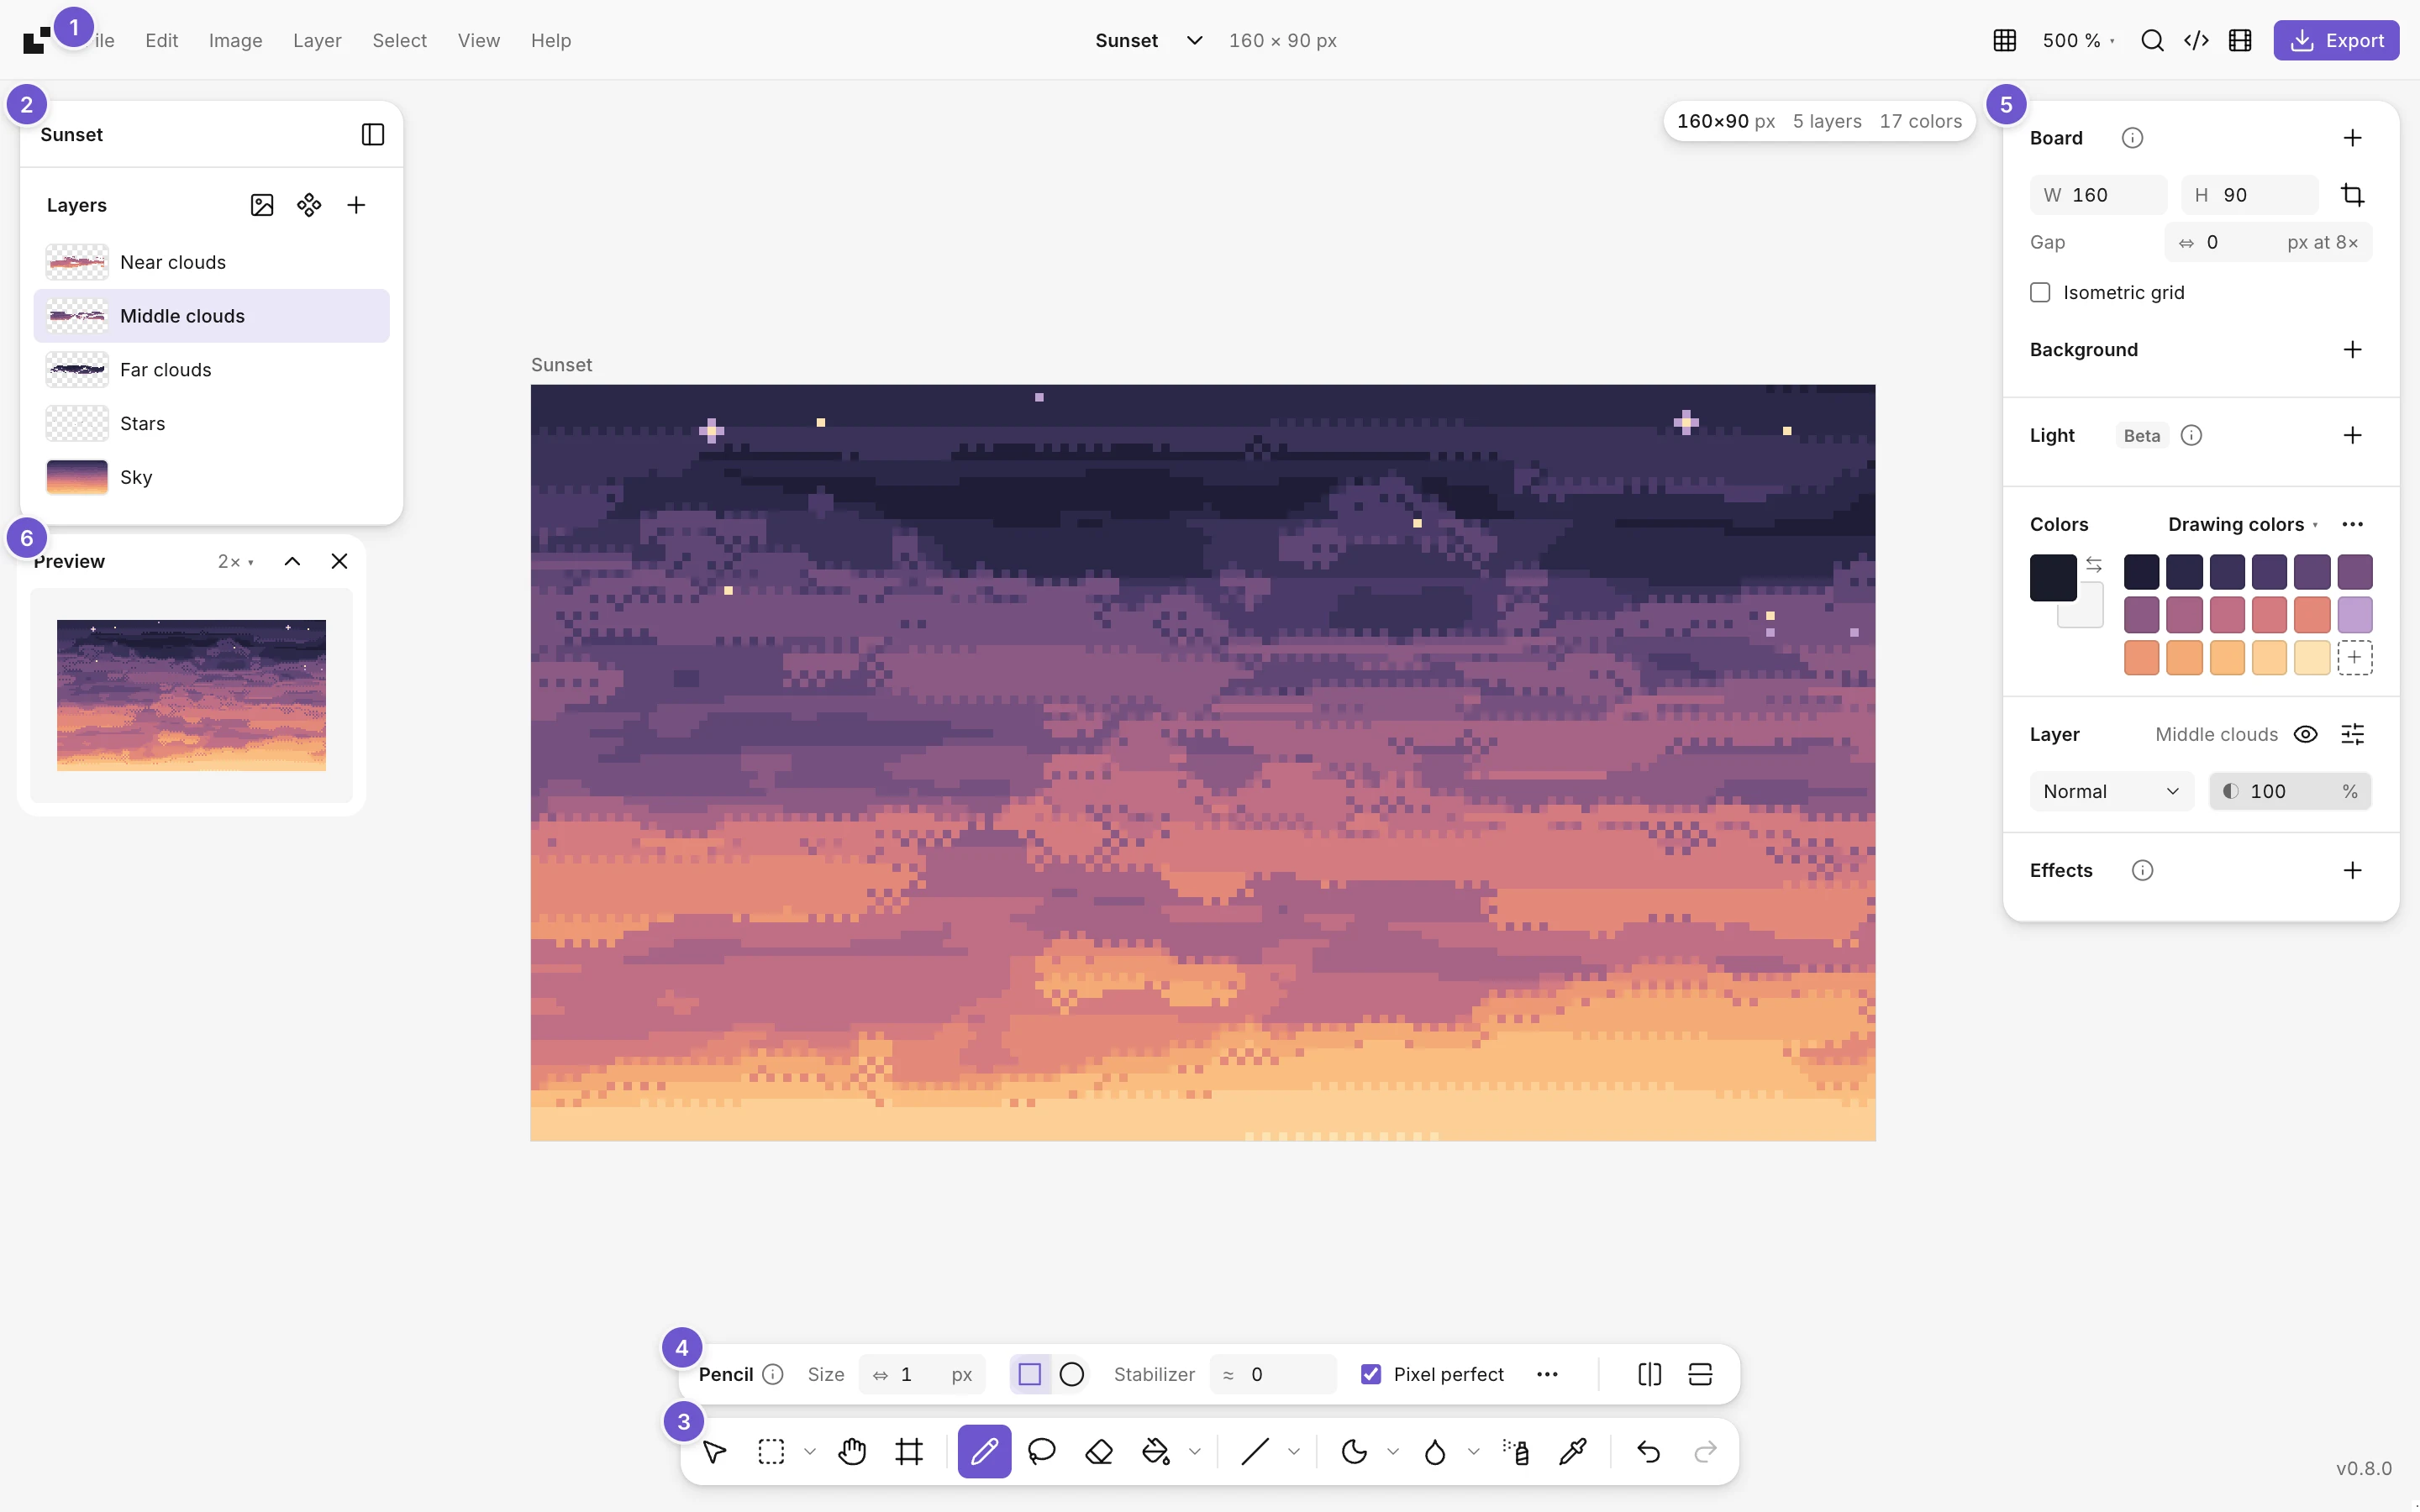
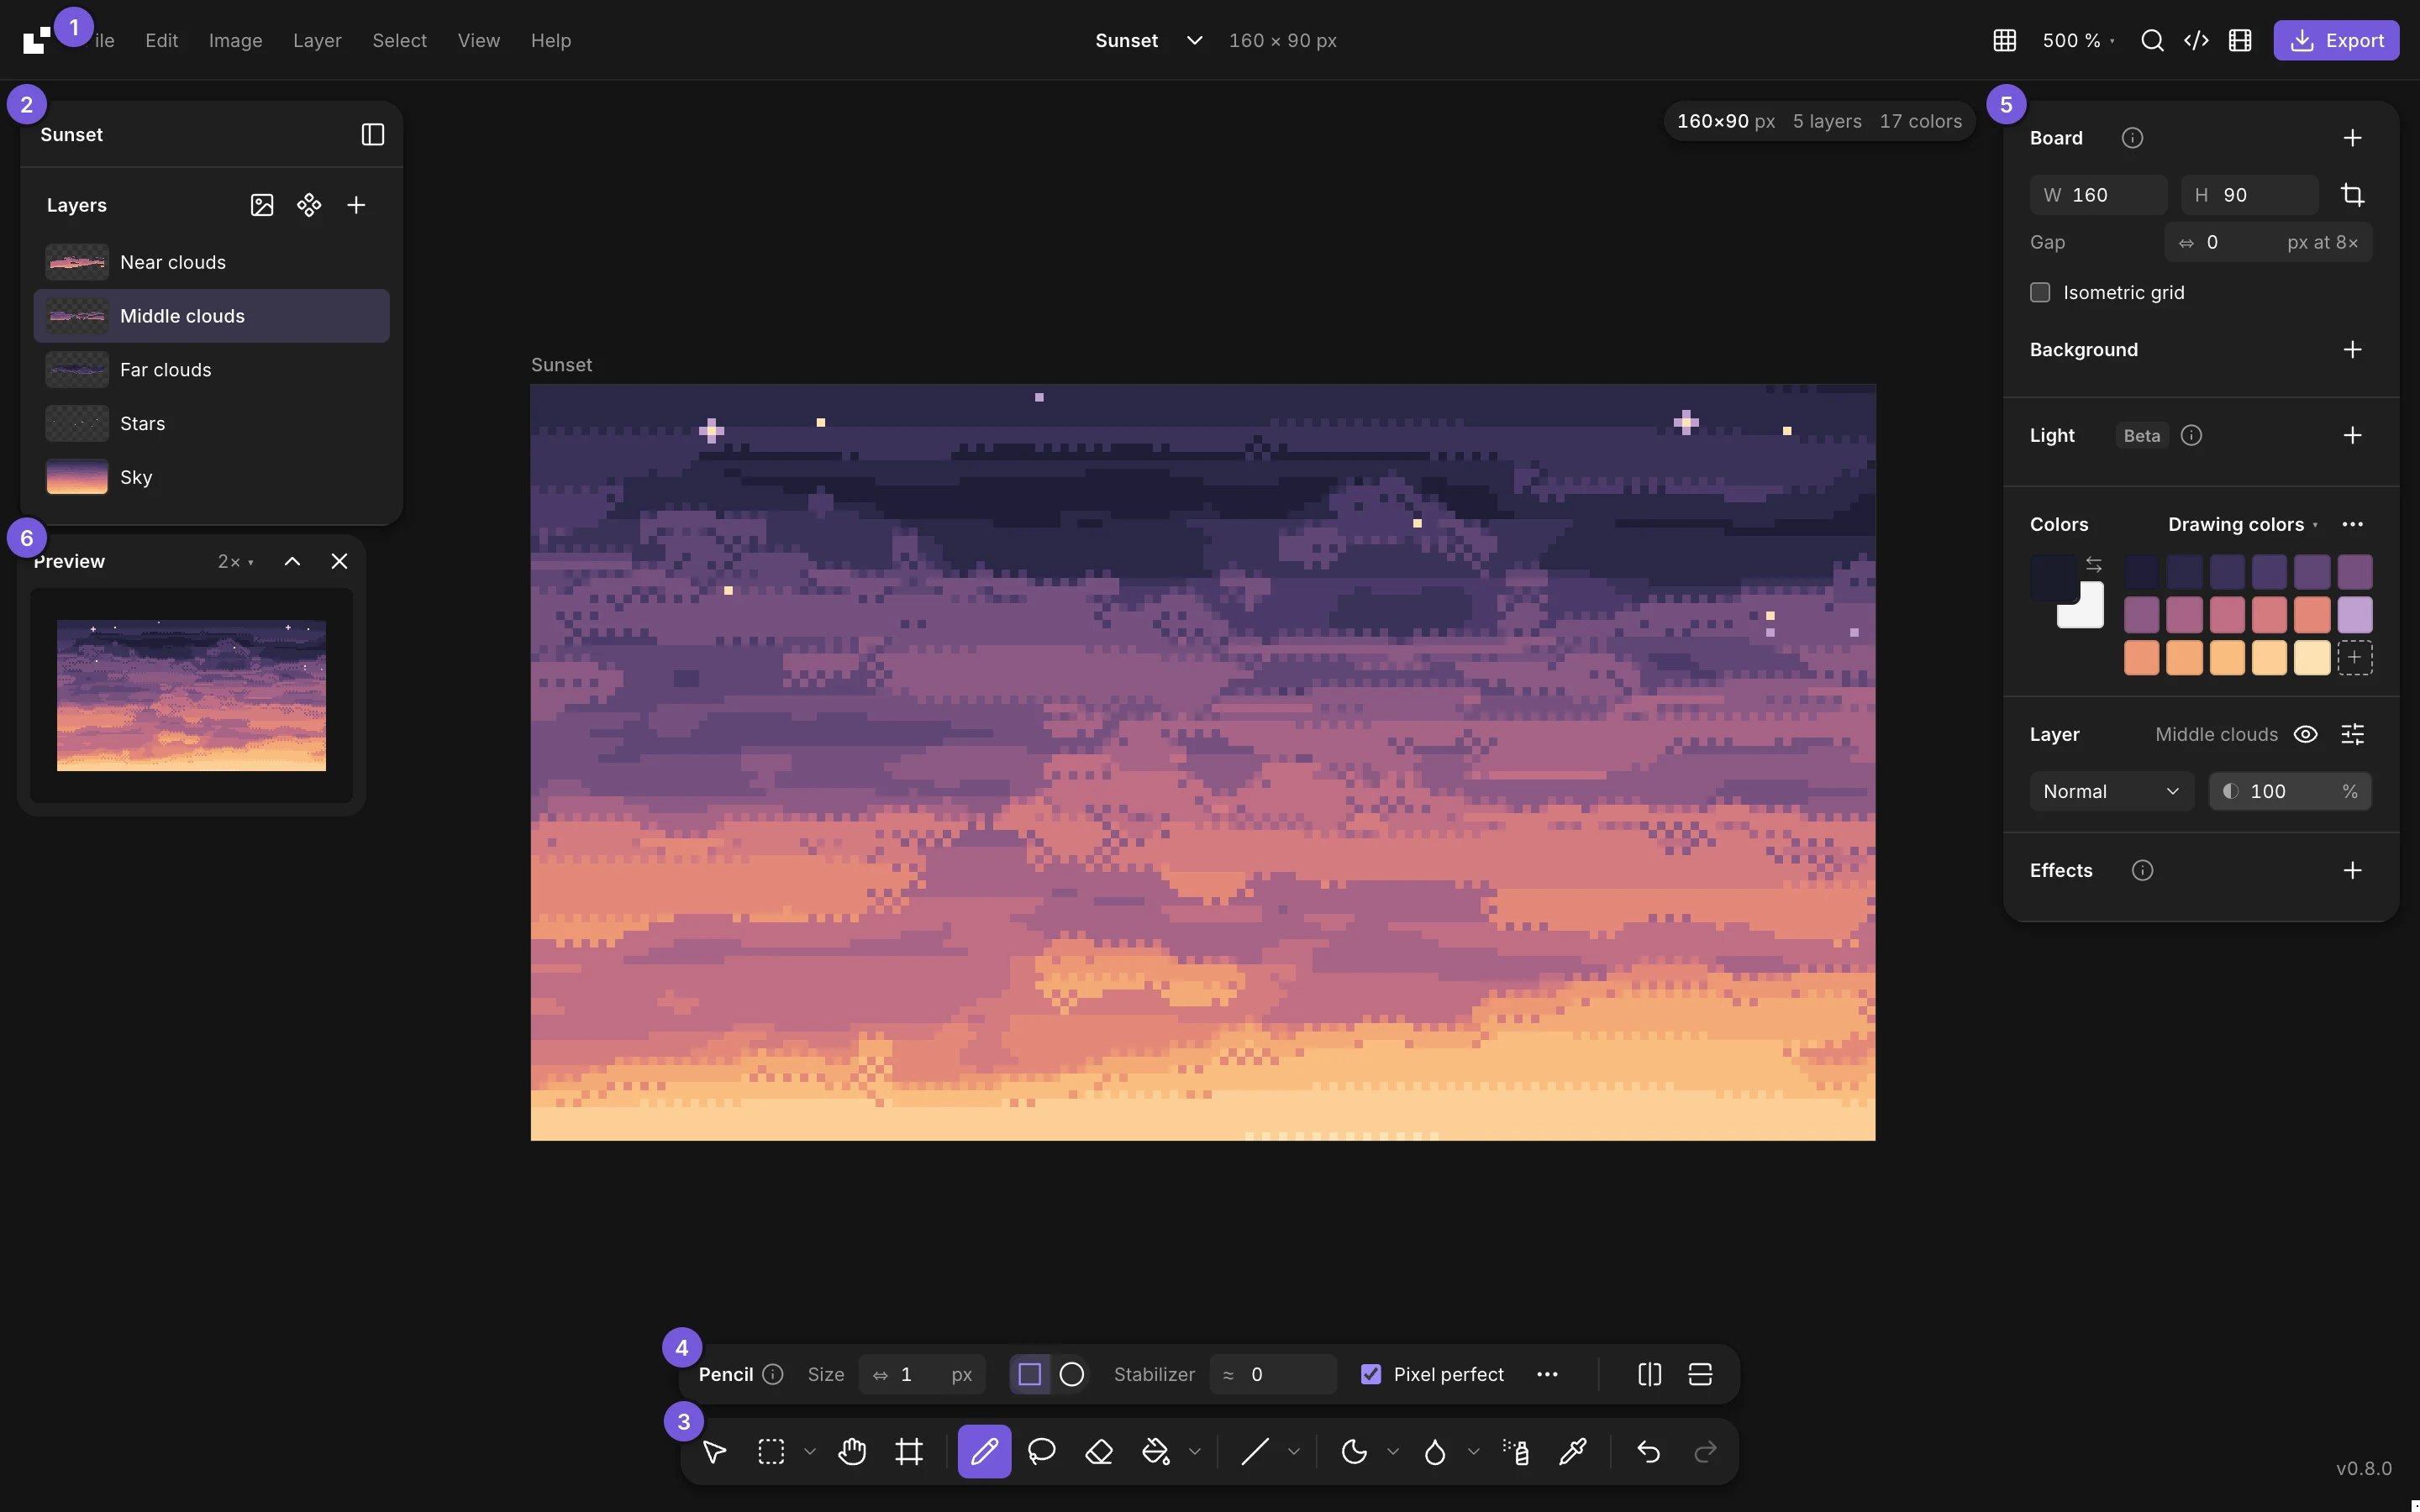
Baipix is laid out like a design tool. The canvas fills the window, and everything else floats around it.
The menu bar
Across the top, from left to right:
- The menus: File, Edit, Image, Layer, Select, View and Help. Every command is in one of them, with its shortcut.
- The file’s name, in the middle, and the board’s size. Click the name to rename the file, or the arrow next to it to switch to a recent file.
- The display options (the grid button): the pixel grid, the tile preview and rulers. Symmetry is in the tool options bar and the View menu.
- The zoom. Click it for the zoom levels, or double-click it to fit the drawing to the window.
- The command palette (the magnifier, or Ctrl+K): type a few letters to find any command.
- The code button (
</>): the drawing as a React component, SVG, CSS, JSON or ASCII. - Animate (the film button): the timeline, to animate the board frame by frame. See Animation.
- Export: PNG, animated GIF, a PNG sequence, SVG, Aseprite, a sprite sheet or a tileset.
On a Mac, Ctrl is Cmd everywhere in Baipix.
The Layers panel
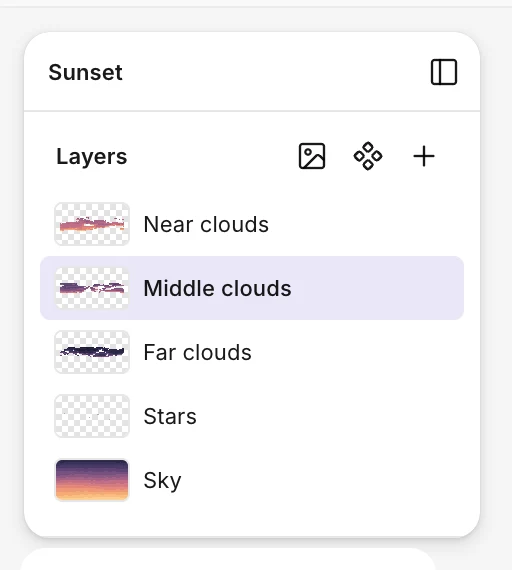
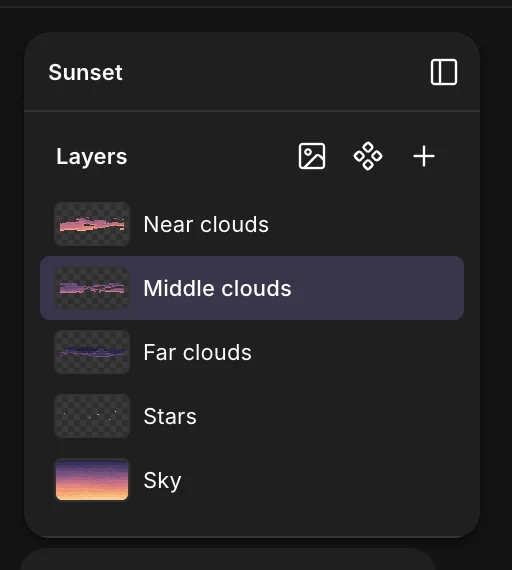
On the left. It lists the drawing’s layers, top first, with their groups. Above them come the file’s components, if it has any. In a file of several boards, each board has its own row, the active one open.
- Click a layer to work on it. Shift-click or Ctrl-click to select several.
- Drag a layer to reorder it, or onto a group to put it inside.
- The buttons next to Layers add a reference image, turn the selection into a component, or add a layer.
- Right-click a layer for everything else: duplicate, merge, group, lock, rename.
The button at the top right of the panel folds it into a small pill (Ctrl+Shift+\), to give the canvas the whole window.
The toolbar and its options


At the bottom. Tools of the same family share a button, and the button shows the last one you used: the small arrow next to it opens the others. Each tool also has a single key, listed in Keyboard shortcuts.
Just above the toolbar, the options bar shows the current tool’s settings: the pencil’s size, pixel perfect and stabilizer, the gradient’s shape and dithering, a shape’s outline or fill, and so on. The … button holds the less common ones.
Undo and redo are at the right end of the toolbar.
The right panel
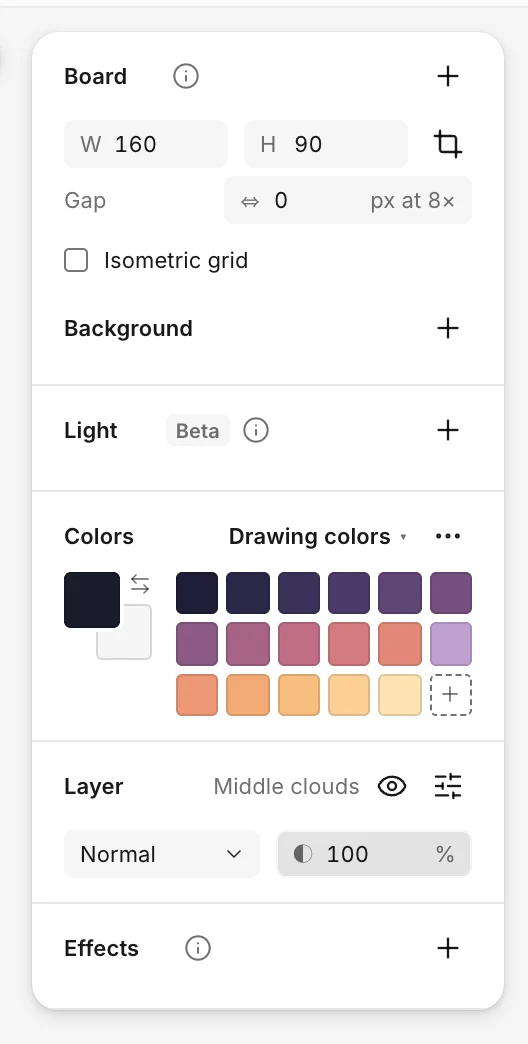
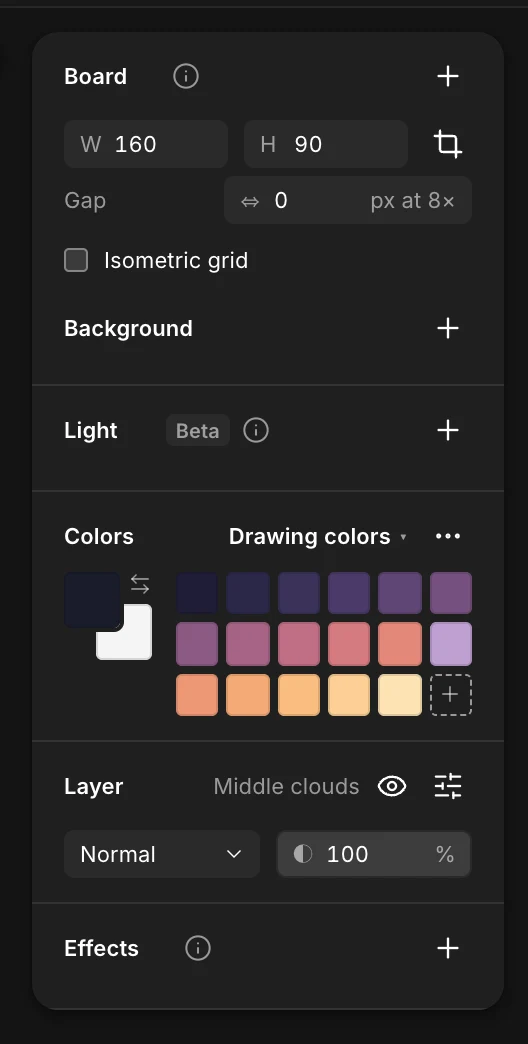
What’s selected, in five sections:
- Board: the width and height, the gap between pixels, the isometric grid, and the background color. Its picker has an eyedropper: click the canvas to take the background’s color from the drawing.
- Light: where the light comes from, a guide to shade by. See Shade and lighten.
- Colors: the two colors you draw with, as overlapping chips, and the file’s palette. Click the front chip to change it, the one behind to bring it to the front, or press X to swap them.
- Layer: the active layer’s name, visibility, blend mode and opacity.
- Effects: an outline, a shadow or a glow on the layer.
The canvas
- Pan with the Hand tool (H), or hold Space and drag with any tool.
- Zoom with a pinch on a trackpad, the mouse wheel, or Ctrl with either, toward the pointer.
- On a trackpad, two fingers pan in any direction.
- On a phone or tablet, pinch with two fingers to zoom and pan. A long press picks the color under your finger, a two-finger tap undoes and a three-finger tap redoes.
- In the top right corner: the drawing’s size, its number of layers and colors, and the pointer’s coordinates.
- In the bottom right corner: the version, which opens what’s new.
A dialog (export, new file, code…) closes with its ×, Esc, or a click outside it.
The preview
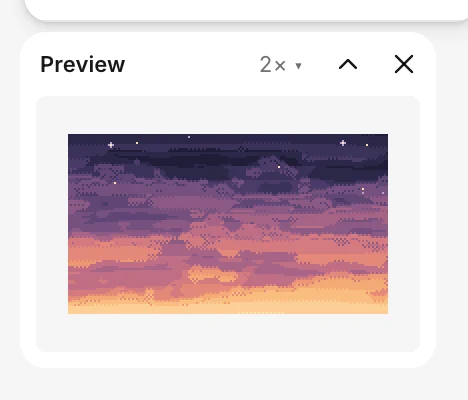
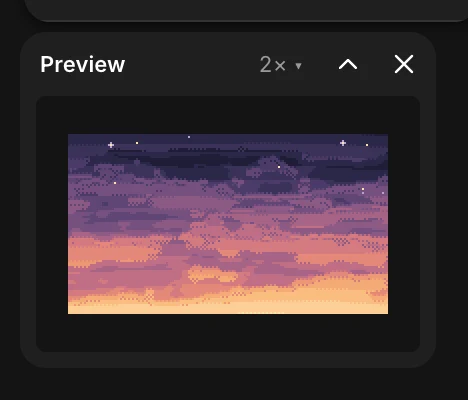
A small floating window with the whole drawing at a fixed size, so you see it as it will be while you work up close. When the canvas shows only part of the drawing, a frame marks where you are: drag it to move around. Drag the window by its title, resize it by its corner, or fold it.
The files screen
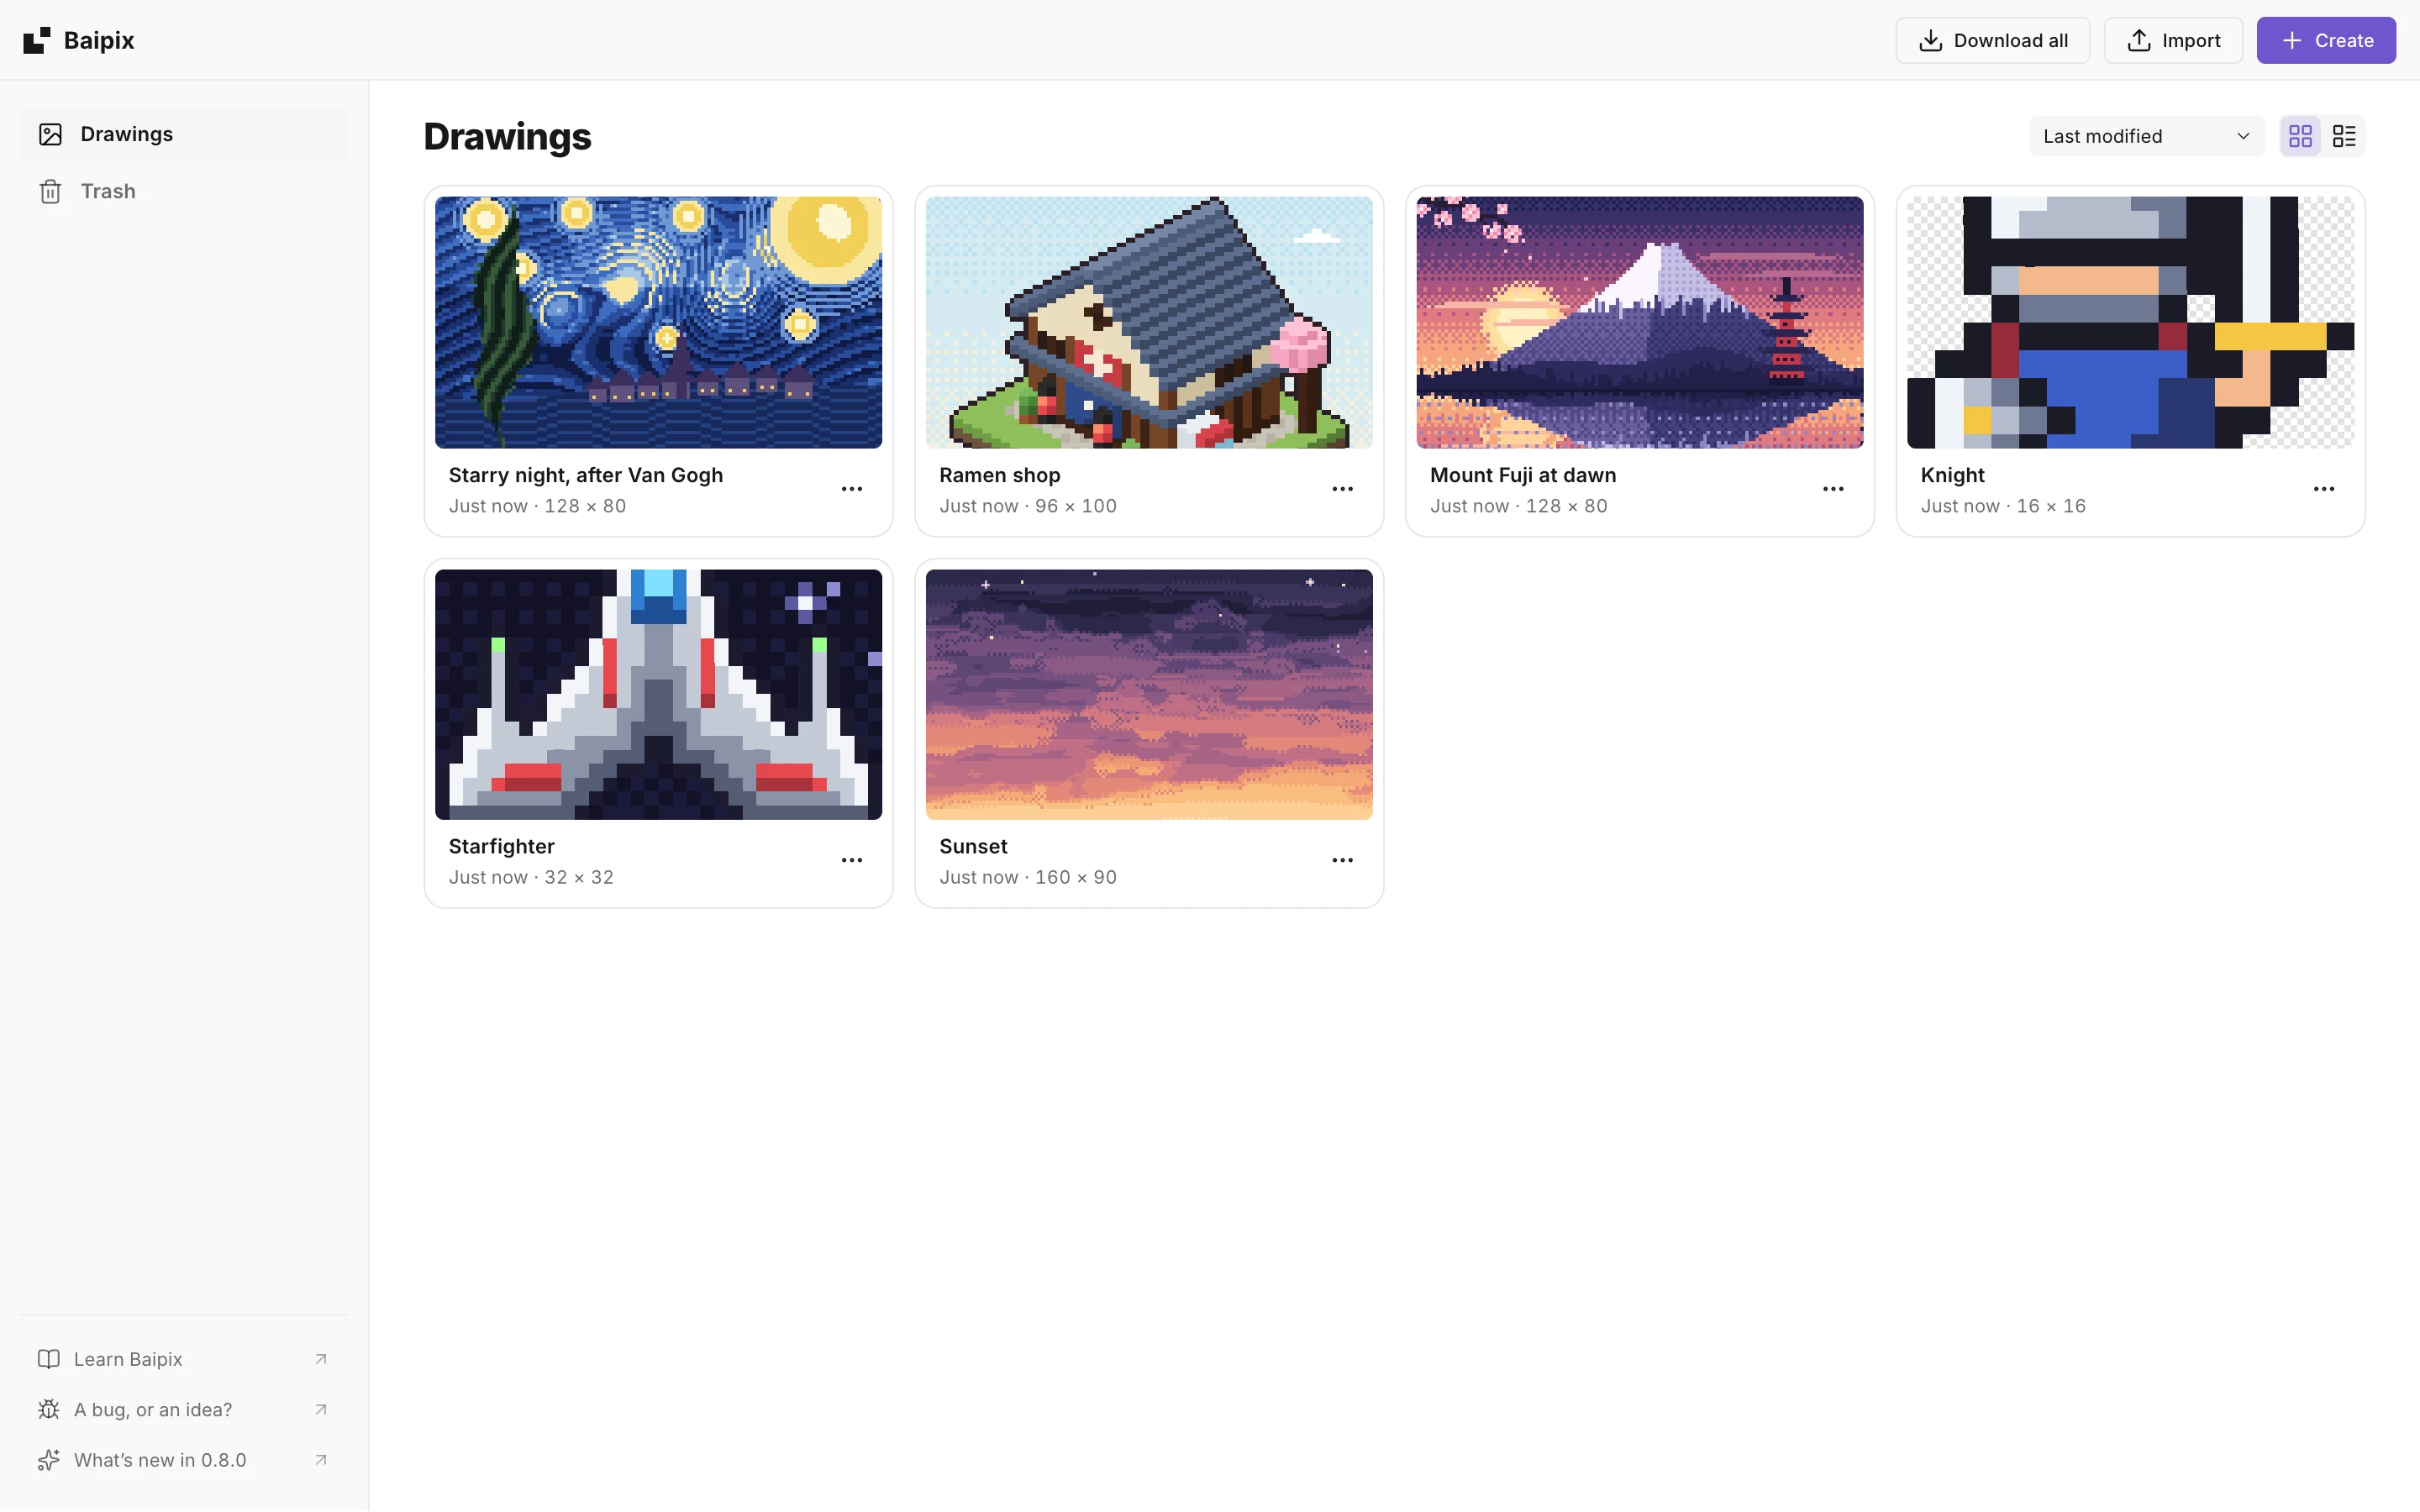
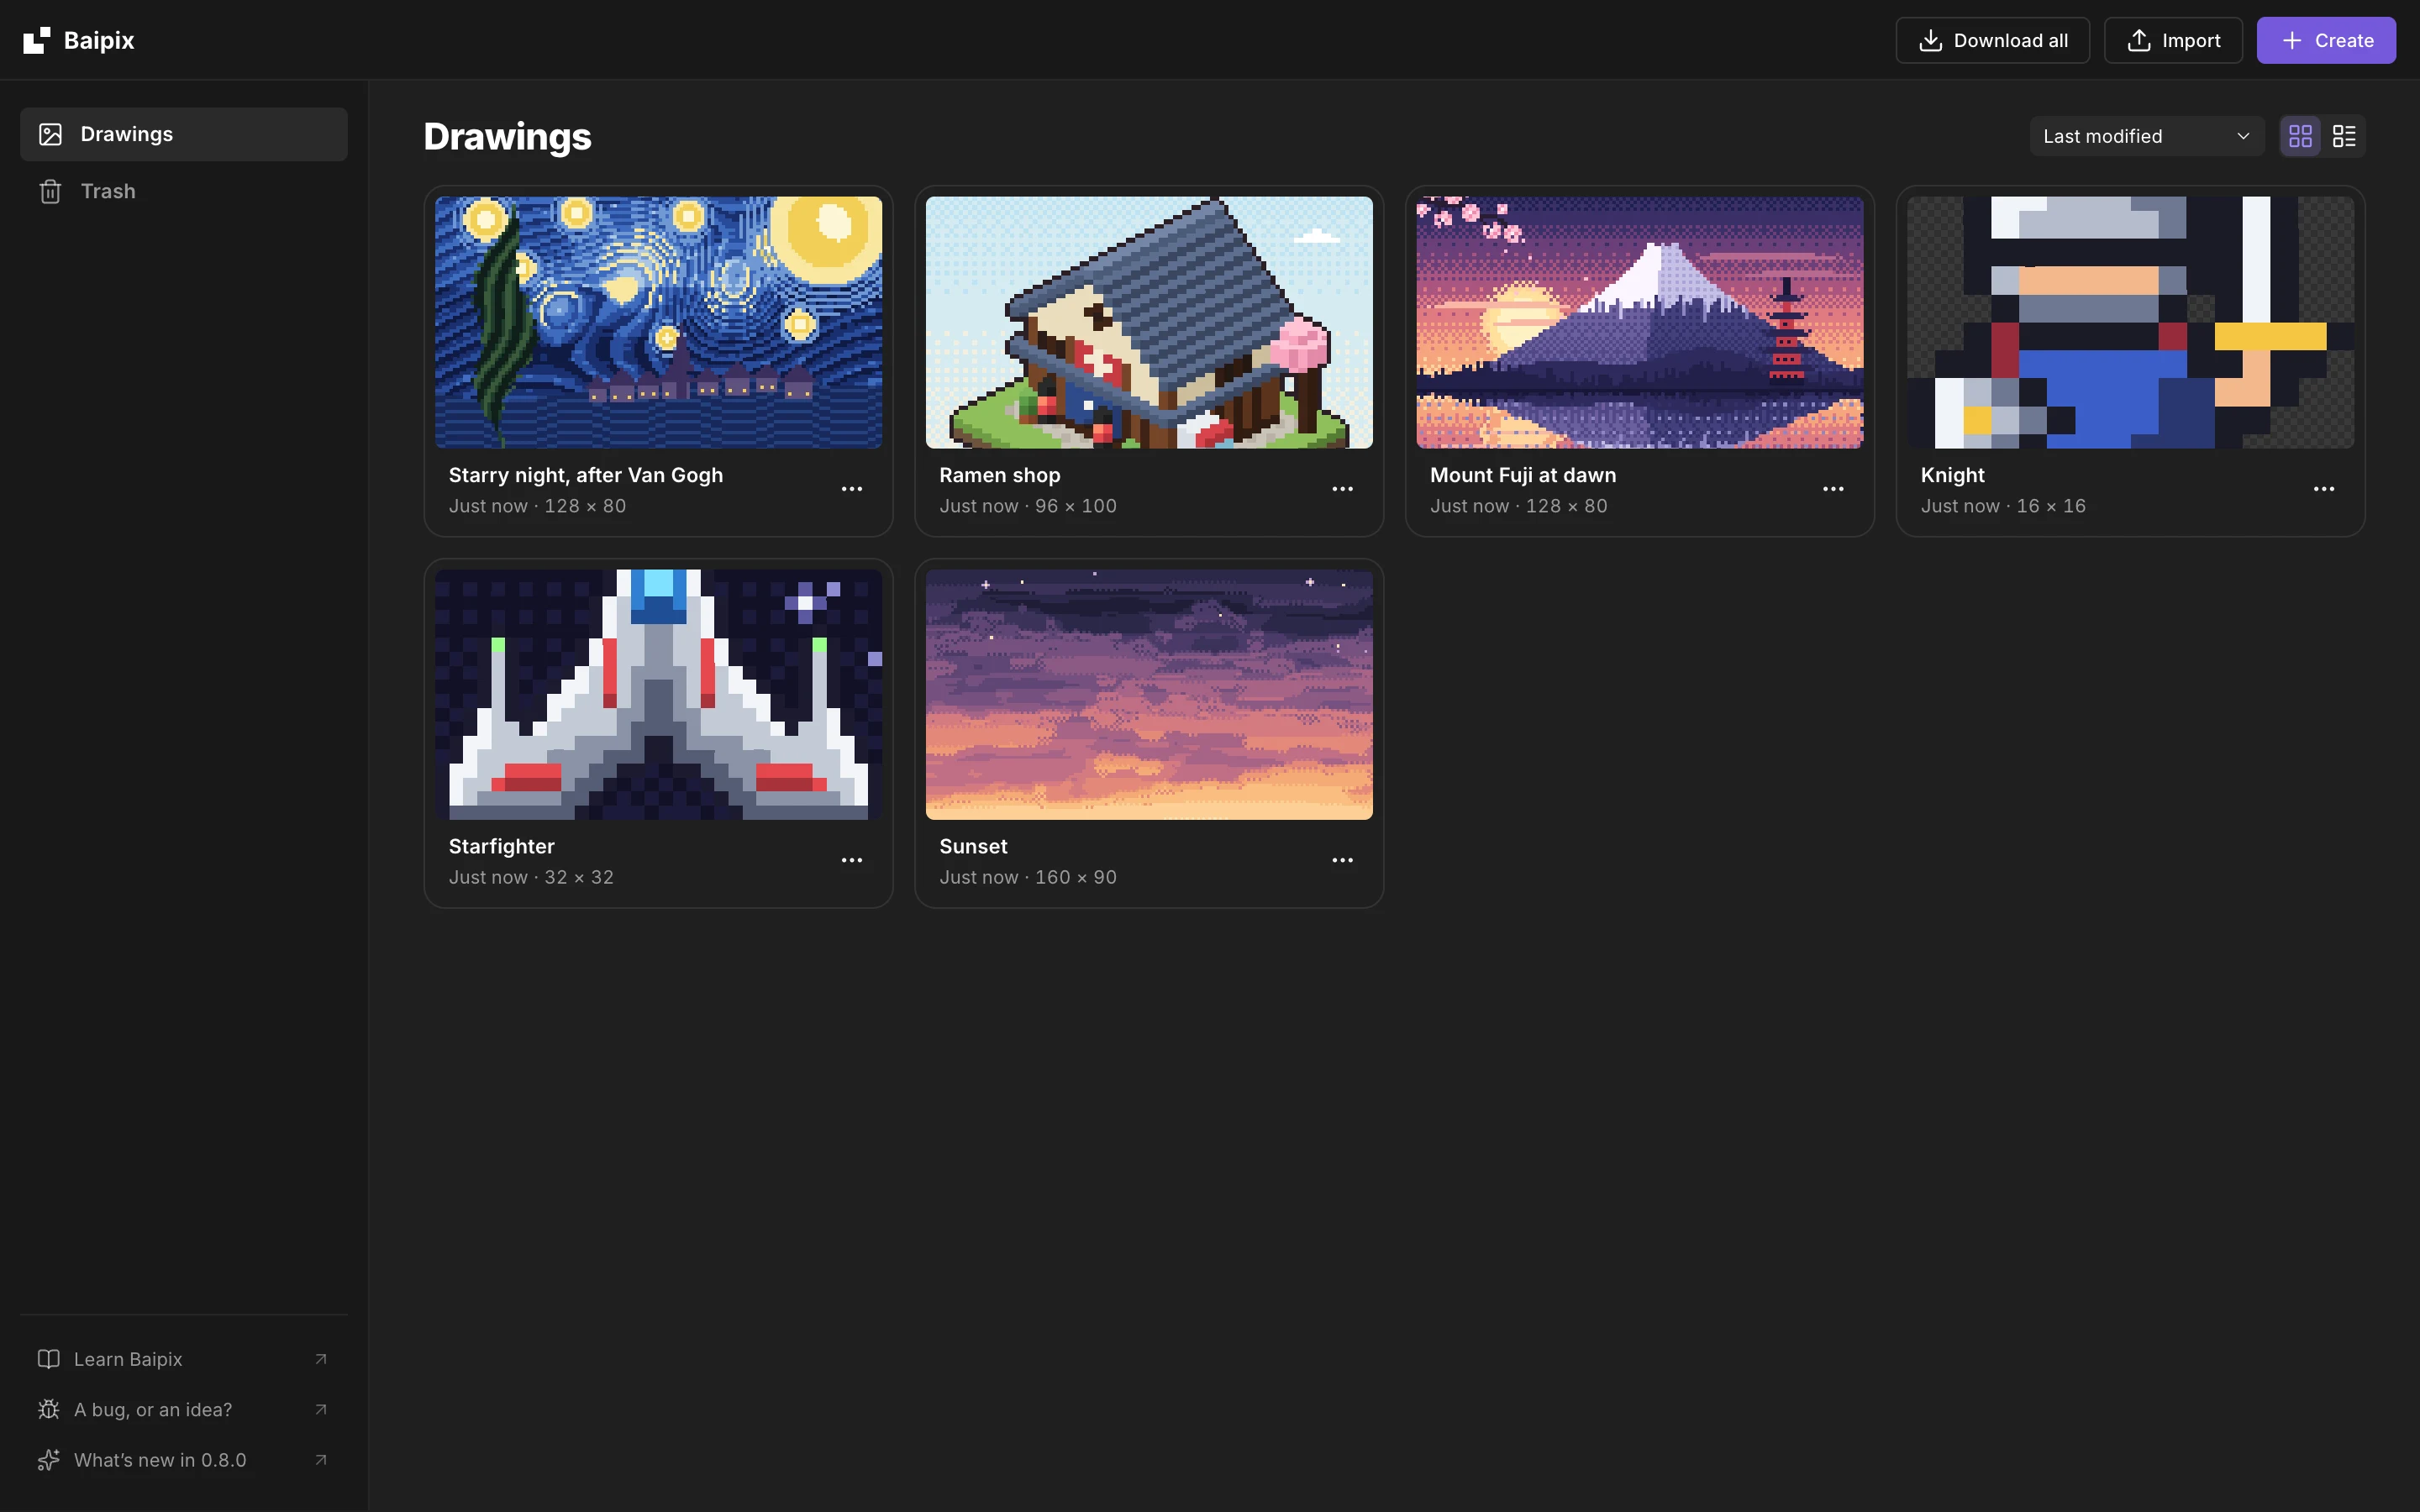
Baipix opens on your drawings, laid out like a files app: a sidebar with Drawings and the Trash, and at its bottom the docs, a bug or idea form, and what’s new; Import and Create at the top right; a menu to sort the drawings (alphabetically or by last change, oldest or newest first) and a grid or a list view. The first time, before any drawing, the same screen welcomes you with the presets as cards: one click, and the canvas is ready, its palette and views set. Come back to it with File › Recent › All files. See Create and open files.
On a phone
On a phone, or in a narrow window, the interface folds up around the drawing:
- The toolbar at the bottom holds the two colors, the pencil, the eraser, the paint bucket and the selection, then the last other tool you took, and … for all the tools, by what they’re for and with their names.
- The two colors open the palette: tap a color to draw with it, press longer to make it the color behind. Edit color… opens the picker.
- Undo and Redo float just above, with the tool’s options.
- At the top, ☰ is the menu bar, the file’s name switches files, and the two buttons next to Export open the layers and the properties from the bottom. A tap on the drawing closes them.